 Marius Masalar
How to Use Your Canon EOS-R as an External Webcam on macOS
A step-by-step guide to using your EOS-R as a webcam on macOS—for free.
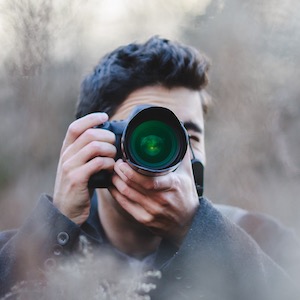
 Illustration adapted from blush.design.
You may have seen that Canon released a free utility for using your camera as an external webcam. Unfortunately, the beta is currently Windows-only, leaving macOS users reaching for alternatives.
In this guide, I’ll show you how to use your Canon EOS-R as a high-quality webcam, even in the latest versions of Zoom that have disabled virtual webcams.
Note that this guide is specific to the EOS-R, but the process is nearly identical for most recent Canon EOS bodies, and may also work for other brands that offer video over USB too.
The best part? It’s entirely free.
Let’s get started.
What You’ll Need
Three things:
- A Canon EOS-R: Along with a USB cable to connect it to your computer.
- Camera Live: Download the latest version from GitHub.
- CamTwist: Download it from their website.
Once you have all of those components, we can get started.
Step 1: Camera Setup
Before we do anything else, let’s make sure you’re getting a nice consistent picture out of your camera by adjusting the video settings.
Configuration
Turn your camera on and switch it into the manual video mode so we can set everything up ourselves and not have to worry about weird shifts in exposure or white balance.
Press the Q button to access quick settings and use the following configuration:
- Autofocus should be set to Servo in Face + Tracking mode, preferably with Eye-AF enabled
- Quality should be FHD (1080p) at 30fps, using the All-I compression method. We aren’t recording video in the camera, but having it in a 1080p mode avoids cropping and rolling shutter problems that appear in 4k. If you don’t understand those words, don’t worry.
- Audio recording and monitoring levels are irrelevant
- You can turn image stabilization off since the camera will be fixed in place on a tripod/stack of books/whatever on your desk
- Set your white balance manually! Point your camera in the direction it will be facing when it’s set up (use the articulating screen to help) and cycle through the white balance presets to find one that looks “right”. If none of them provide natural colours, use the Kelvin mode to set a precise value.
- Experiment with picture styles if you like, or just keep it on Standard.
Let’s quickly talk about your shooting settings too—Aperture, Shutter Speed, and ISO:
- Set your aperture to a low number to let in plenty of light (try for ƒ/2.8 or even a bit lower if your lens opens wider).
- Set your shutter speed to 1/60 (assuming you set your video frame rate to 30fps above, otherwise aim for a shutter speed as close to double the frame rate as possible)
- Carefully push the ISO value up until it looks nice and bright. Try to keep your ISO under 1600 if you can.
If your video still looks too dark, turn on some lights, open windows, or adjust your positioning to maximize light on your face and ensure you aren’t backlit.
If you don’t know how to make any of the above adjustments, refer to the camera’s manual.
Placement
With the settings properly configured, set your camera up where you’d like it to be placed.
Ideally, it should be above or directly beside your computer monitor, at eye height or slightly above so we’re not staring up your nostrils.
Lastly, connect the camera to your computer via the USB-C port and turn it on.
Step 2: Software Assembly
With your camera connected and turned on, we need to set up the chain of software connections that enable us to use it as a webcam.
- Launch Camera Live and you’ll see your EOS-R appear in the list.
- Click the camera name to make sure it’s highlighted; your EOS-R should switch to its live view mode and display its video output on the LCD as if you were ready to shoot a video

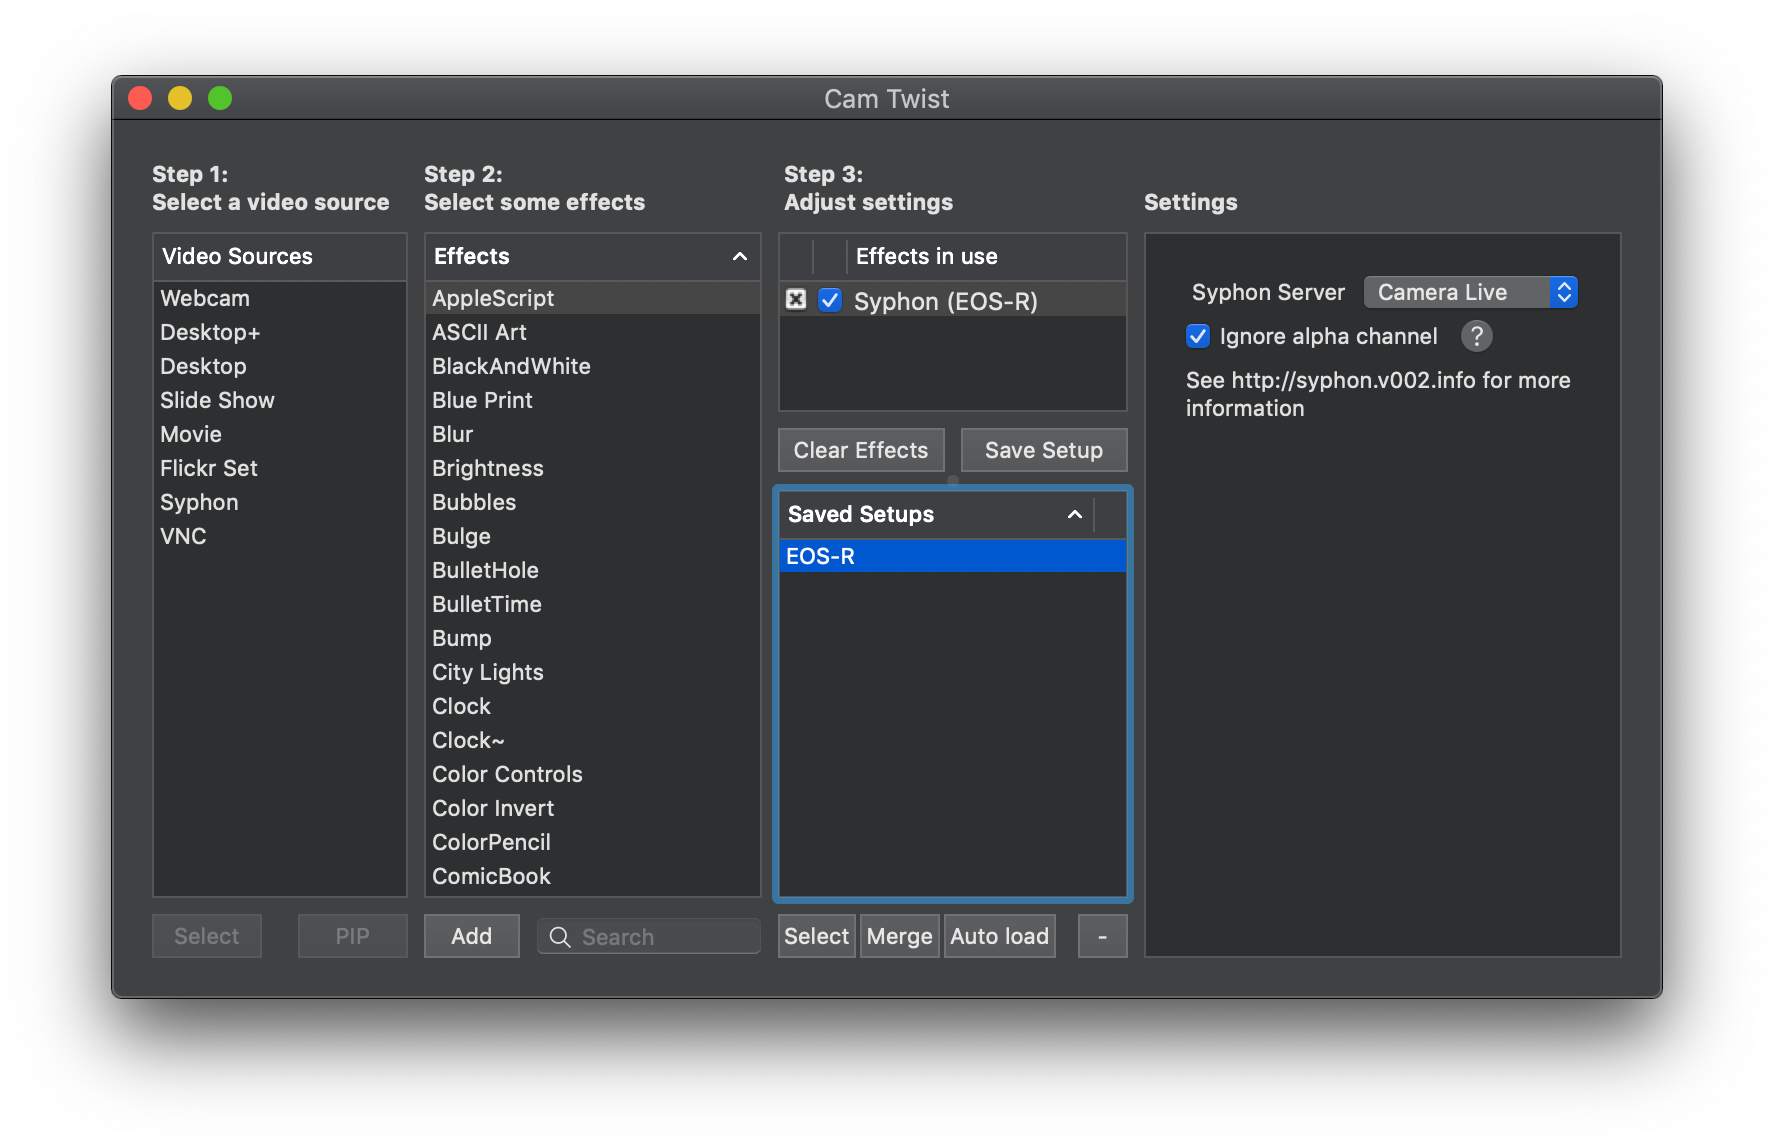
- Launch CamTwist and select “Syphon” from the video source list in the leftmost menu
- Click Select to activate that source, and skip over to the right-most Settings area where you’ll see a dropdown for picking a Syphon server.
- Choose the one called “Camera Live” and make sure the “ignore alpha channel” checkbox is active
At this point, your camera should be connected and showing a video image on its LCD, and both Camera Live and CamTwist should be running on your computer.
If you’re using Skype or one of many other calling apps, you’re all set.
In the Audio/Video settings, you will see CamTwist appear just like any other webcam choice.
Step 3: Fixing Zoom
At the time of writing, changes in the Zoom desktop app prevent the use of “virtual” webcams, which is what we’ve effectively created.
Many guides recommend installing an older version of the Zoom client to circumvent this, but not only is that a security risk, it’s also likely to stop working as Zoom continues to update its infrastructure.
Luckily, this is something we can fix in the latest versions of Zoom with a simple pair of Terminal commands instead.
The first one ensures that the Xcode command line tools are installed on your computer:
xcode-select --install
Next, we’re going to remove the Zoom app’s code signature.1 This small modification to the app allows virtual webcams to become accessible again:
sudo codesign --remove-signature /Applications/zoom.us.app
You will be prompted to enter your computer login password to allow this change, and it will look like you aren’t typing anything in the password prompt—don’t worry, it’s just a Terminal thing.
Type your password, hit Return, and you’re all set.
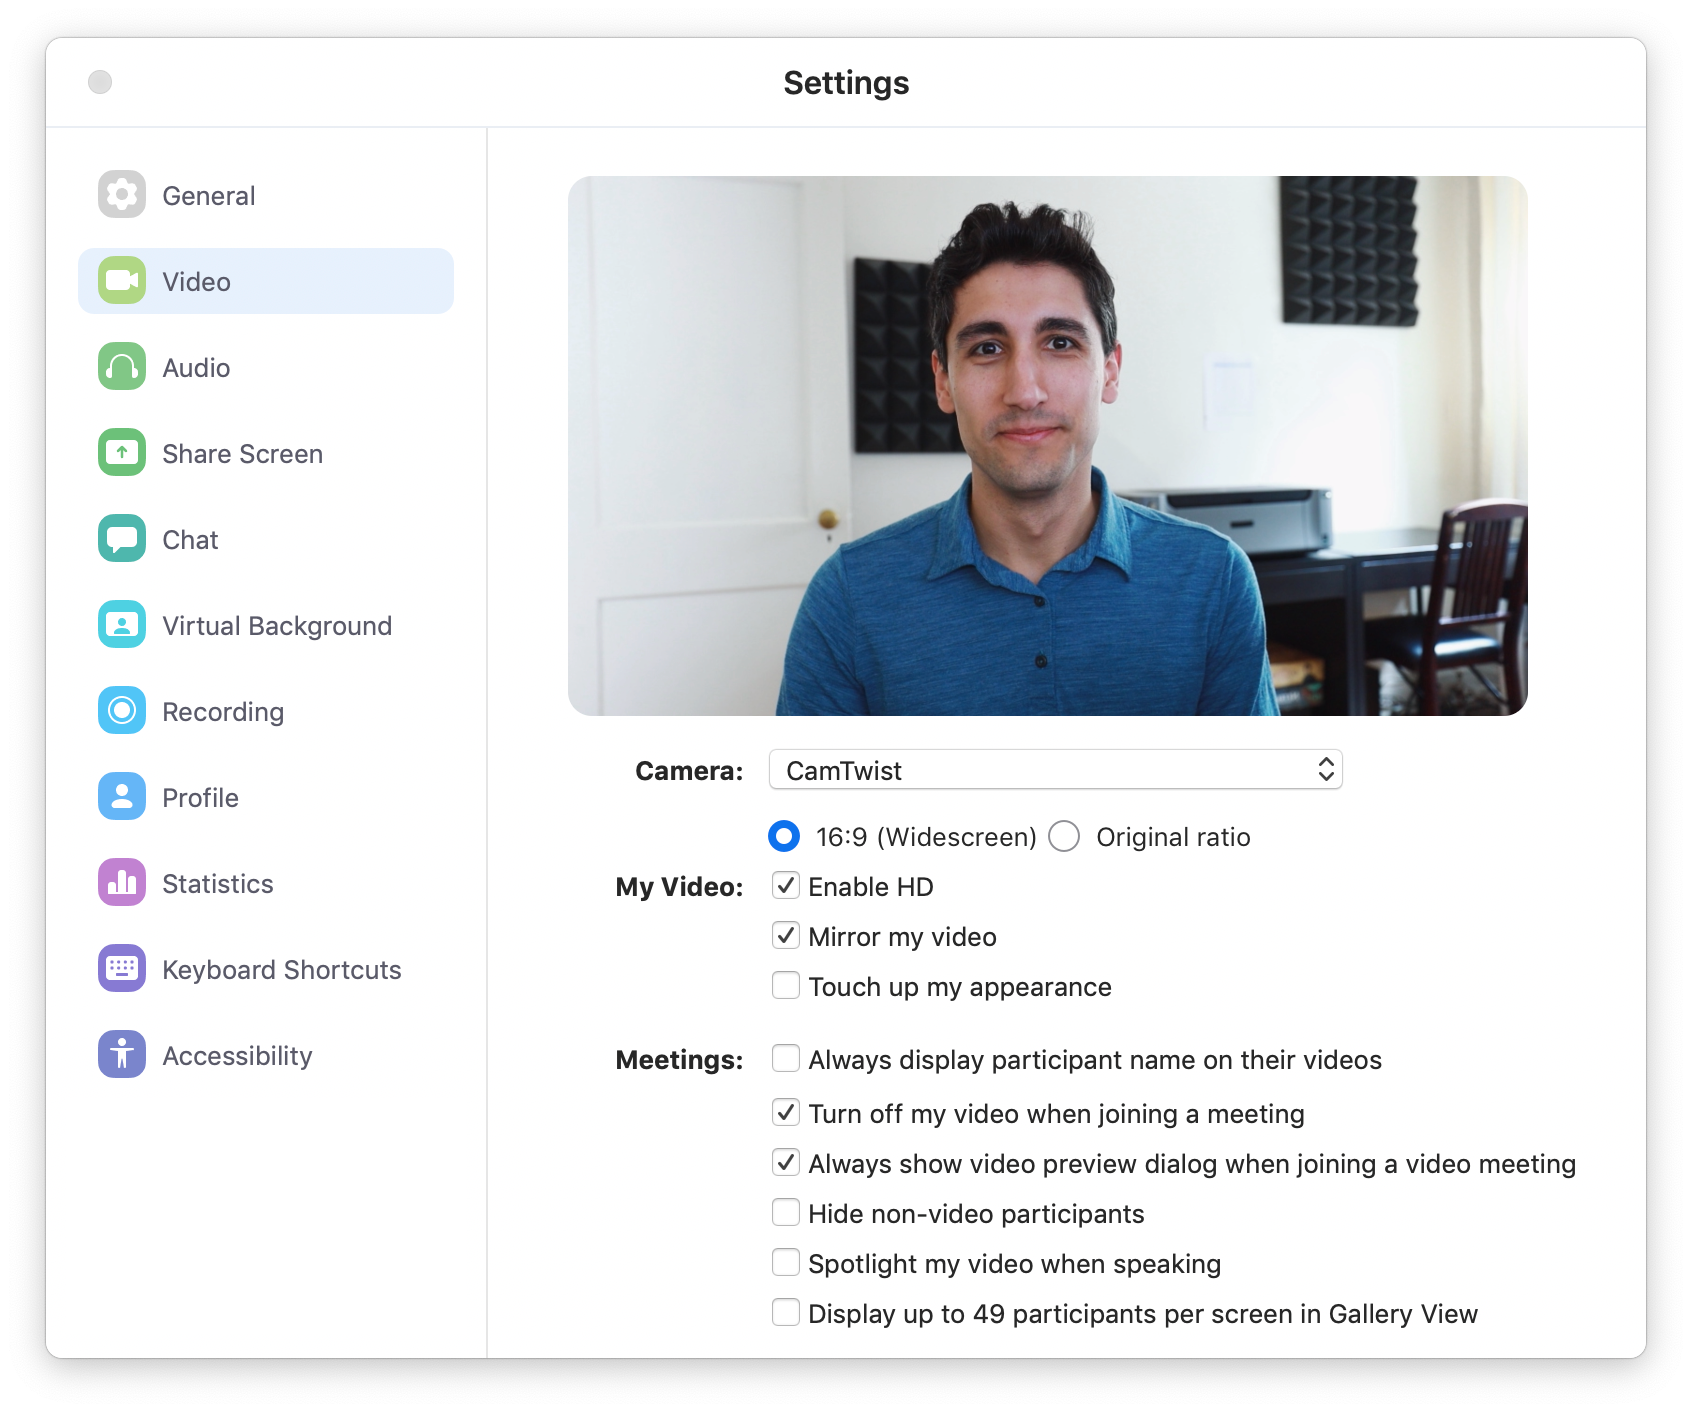
Once this is done, restart Zoom if you haven’t already and you will see that CamTwist now appears as a webcam option in the settings.
Presto!
This is Temporary
Needless to say, this is more convoluted than it should be and will likely be a temporary workaround.
Soon enough, Zoom will release an update that eliminates the need for Step 3 above. Similarly, Canon will likely release its webcam utility for macOS too eventually, which removes the need for Step 1 & 2 as well.
Until then, this guide will get you looking your best on all those video calls!
This is, of course…not ideal. But for many, the potential security trade-off doesn’t introduce that much real-world risk. Besides, this whole step is temporary—a future Zoom update will patch virtual webcam support back in.↩︎