 Marius Masalar
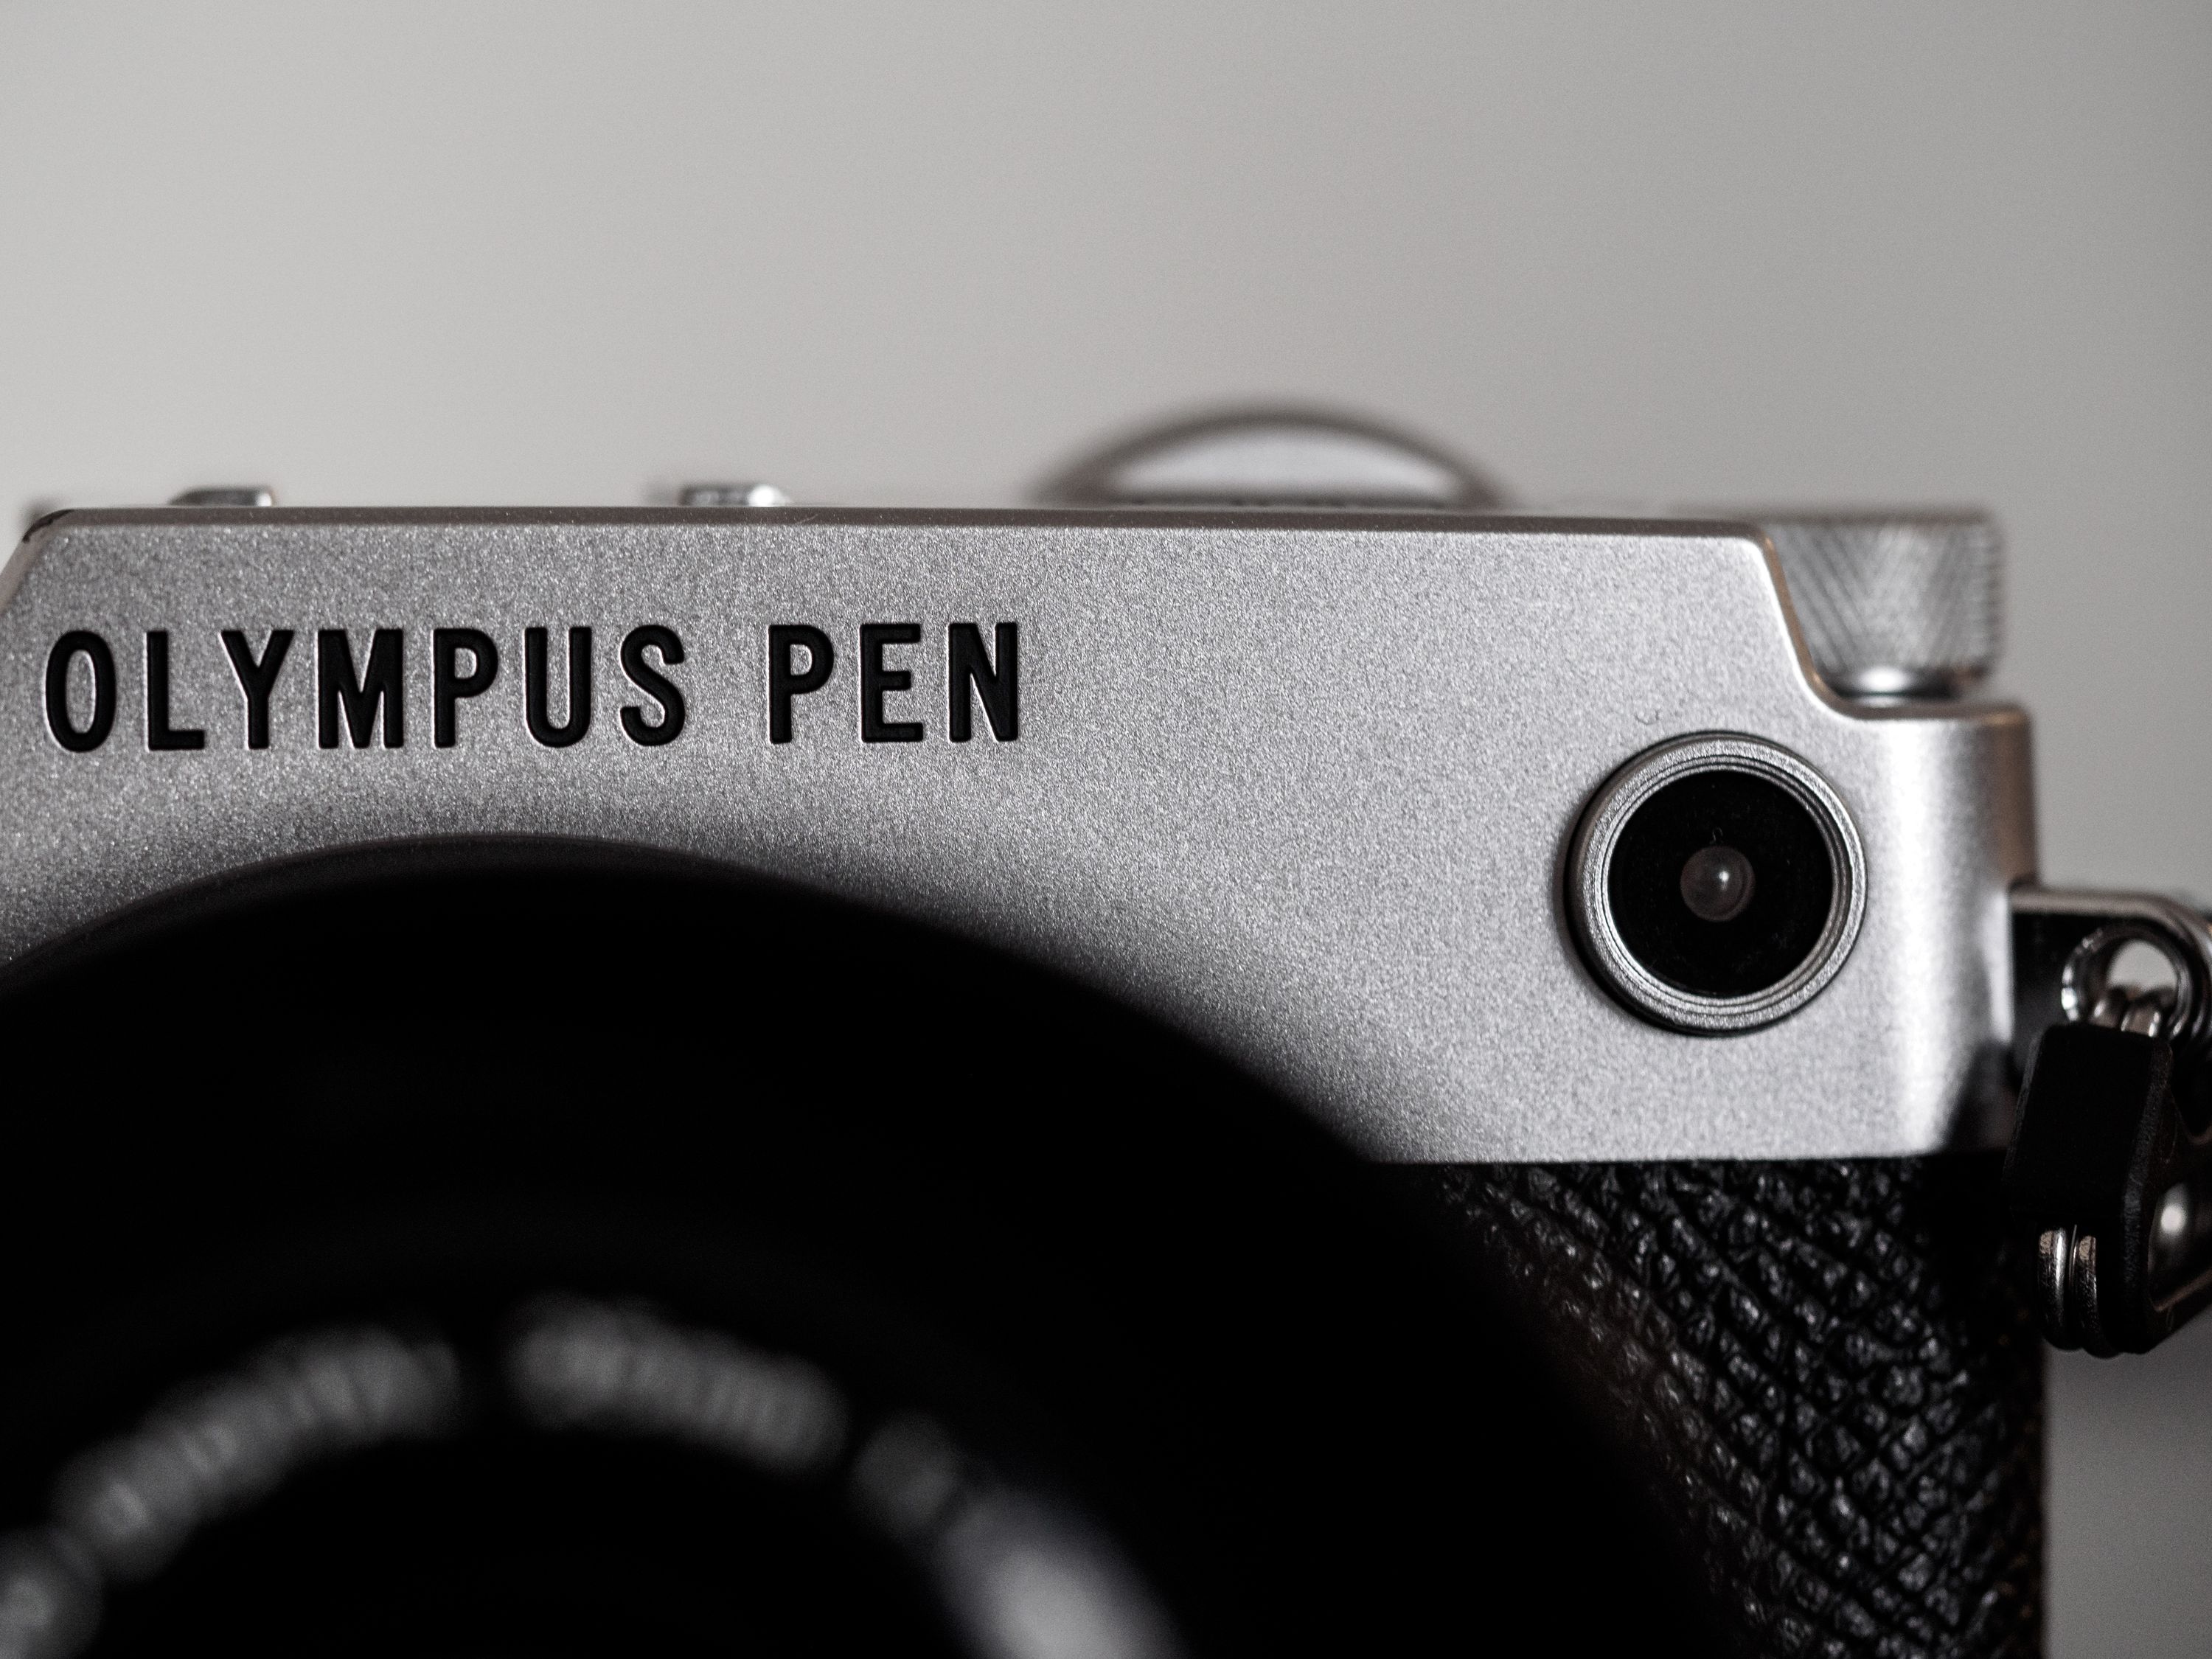
Olympus PEN-F
Miniature. Mirrorless. Mighty. Changing my mind about Olympus’ most misjudged camera

The more time I spend working in photography, the more my priorities shift away from technical considerations.
As far back as my Canon 5D Mark II days, I realized that any failure to get good images was more likely to be a fault of the photographer than the camera. That’s even more true today as imaging technology continues to improve.
When, on a lark, I traded an old lens for a beaten up Fuji X100S a couple of years ago, I discovered that this baseline level of technical proficiency came in small packages too. It was no longer the case that you needed a full-frame sensor and big DSLR to make terrific images. In fact, it never was.
I was reminded of this recently, and the train of thought led to a huge shake-up in my happy, established equipment setup. It happened unexpectedly, and it was the Olympus PEN-F’s fault.
 My PEN-F, with 17mm ƒ/1.8 mounted and a soft shutter release button.
I F-ed Up
I made fun of this camera when it was released, calling it a shamelessly overpriced decoration designed to prey on retro-obsessive consumers.
I took it as fact when other reviewers called its sensor a negligible improvement over the previous generation of Micro Four Thirds offerings. I joined in the chorus of derision aimed at its non-customizable, JPG-only creative style knob on the front. I fell for the same marketing-fuelled spec obsession that I’ve tried so hard to steer others away from.
For the past month and a half, I’ve had the opportunity to borrow a PEN-F and have been shooting with it extensively. I put it through my usual real-world testing. I compared its output to the Olympus E-M10 I used to own and the E-M1 and E-M5 Mark II I’ve worked with before. I dusted off my old 45mm ƒ/1.8, tried the legendary 60mm ƒ/2.8, and kept the diminutive 25mm ƒ/1.8 glued to it the rest of the time. I shot two corporate client projects, a wedding (only as a guest-I don’t shoot weddings), several product reviews, and almost all of my personal assignments.
By the time I was halfway through my review period, I already knew that I had critically misjudged the PEN-F. The day before I had to return it to Olympus, I pulled out my wallet and bought one of my own.
Retro Chic
The only film cameras I’ve ever shot with were either SLR-like Canon Elans or cheap point-and-shoots. Neither looked like the classic image of a film camera that manufacturers today seek to emulate in their designs. In fact, it’s safe to say the film cameras I used were all boring.
So when I tell you the PEN-F looks exceedingly handsome, I’m not biased by a history of shooting with cameras that look like it. I’m saying it as someone who’s experiencing this design the same way I did when I first encountered the X100S: with fresh eyes, judged on its own merits.
The retro look is aesthetically pleasing, but not at the expense of functionality. It’s comfortable and intuitive to use.
The squared-off shape of the PEN-F resists discomfort by virtue of its tiny size and weight. There’s no protruding grip on the front, just the texture of the faux leather finish, but around back there’s a perfectly placed thumb rest that manages to be sufficient. It feels somewhat paradoxical because at the same time, I found myself frustrated by the (substantially) bigger grip on the Fuji X-T2. Somehow, it just didn’t feel comfortable, yet the effectively absent grip on the PEN-F is less fatiguing over a long day of shooting.
For my hands, the X-Pro 2 remains more comfortable than either the PEN-F or X-T2, but with Olympus’ compact primes I find the PEN-F to be ergonomically excellent.
My immediate impression of the PEN-F body was that it’s built to tighter tolerances than any other Olympus camera I’ve worked with, which includes all of the OM-D bodies except the E-M10 Mark II. Also notable is the absence of any screws or similar manufacturing artifacts.
It’s entirely irrelevant and doesn’t bother me in the slightest that the X100T has six screws visible and the X-Pro 2 has seven, but somehow seeing a camera without them inspires confidence in the precision of its build.
That said, the PEN-F shares the X100T’s lack of weather sealing. It’s one of the few major disappointments I have with the camera.
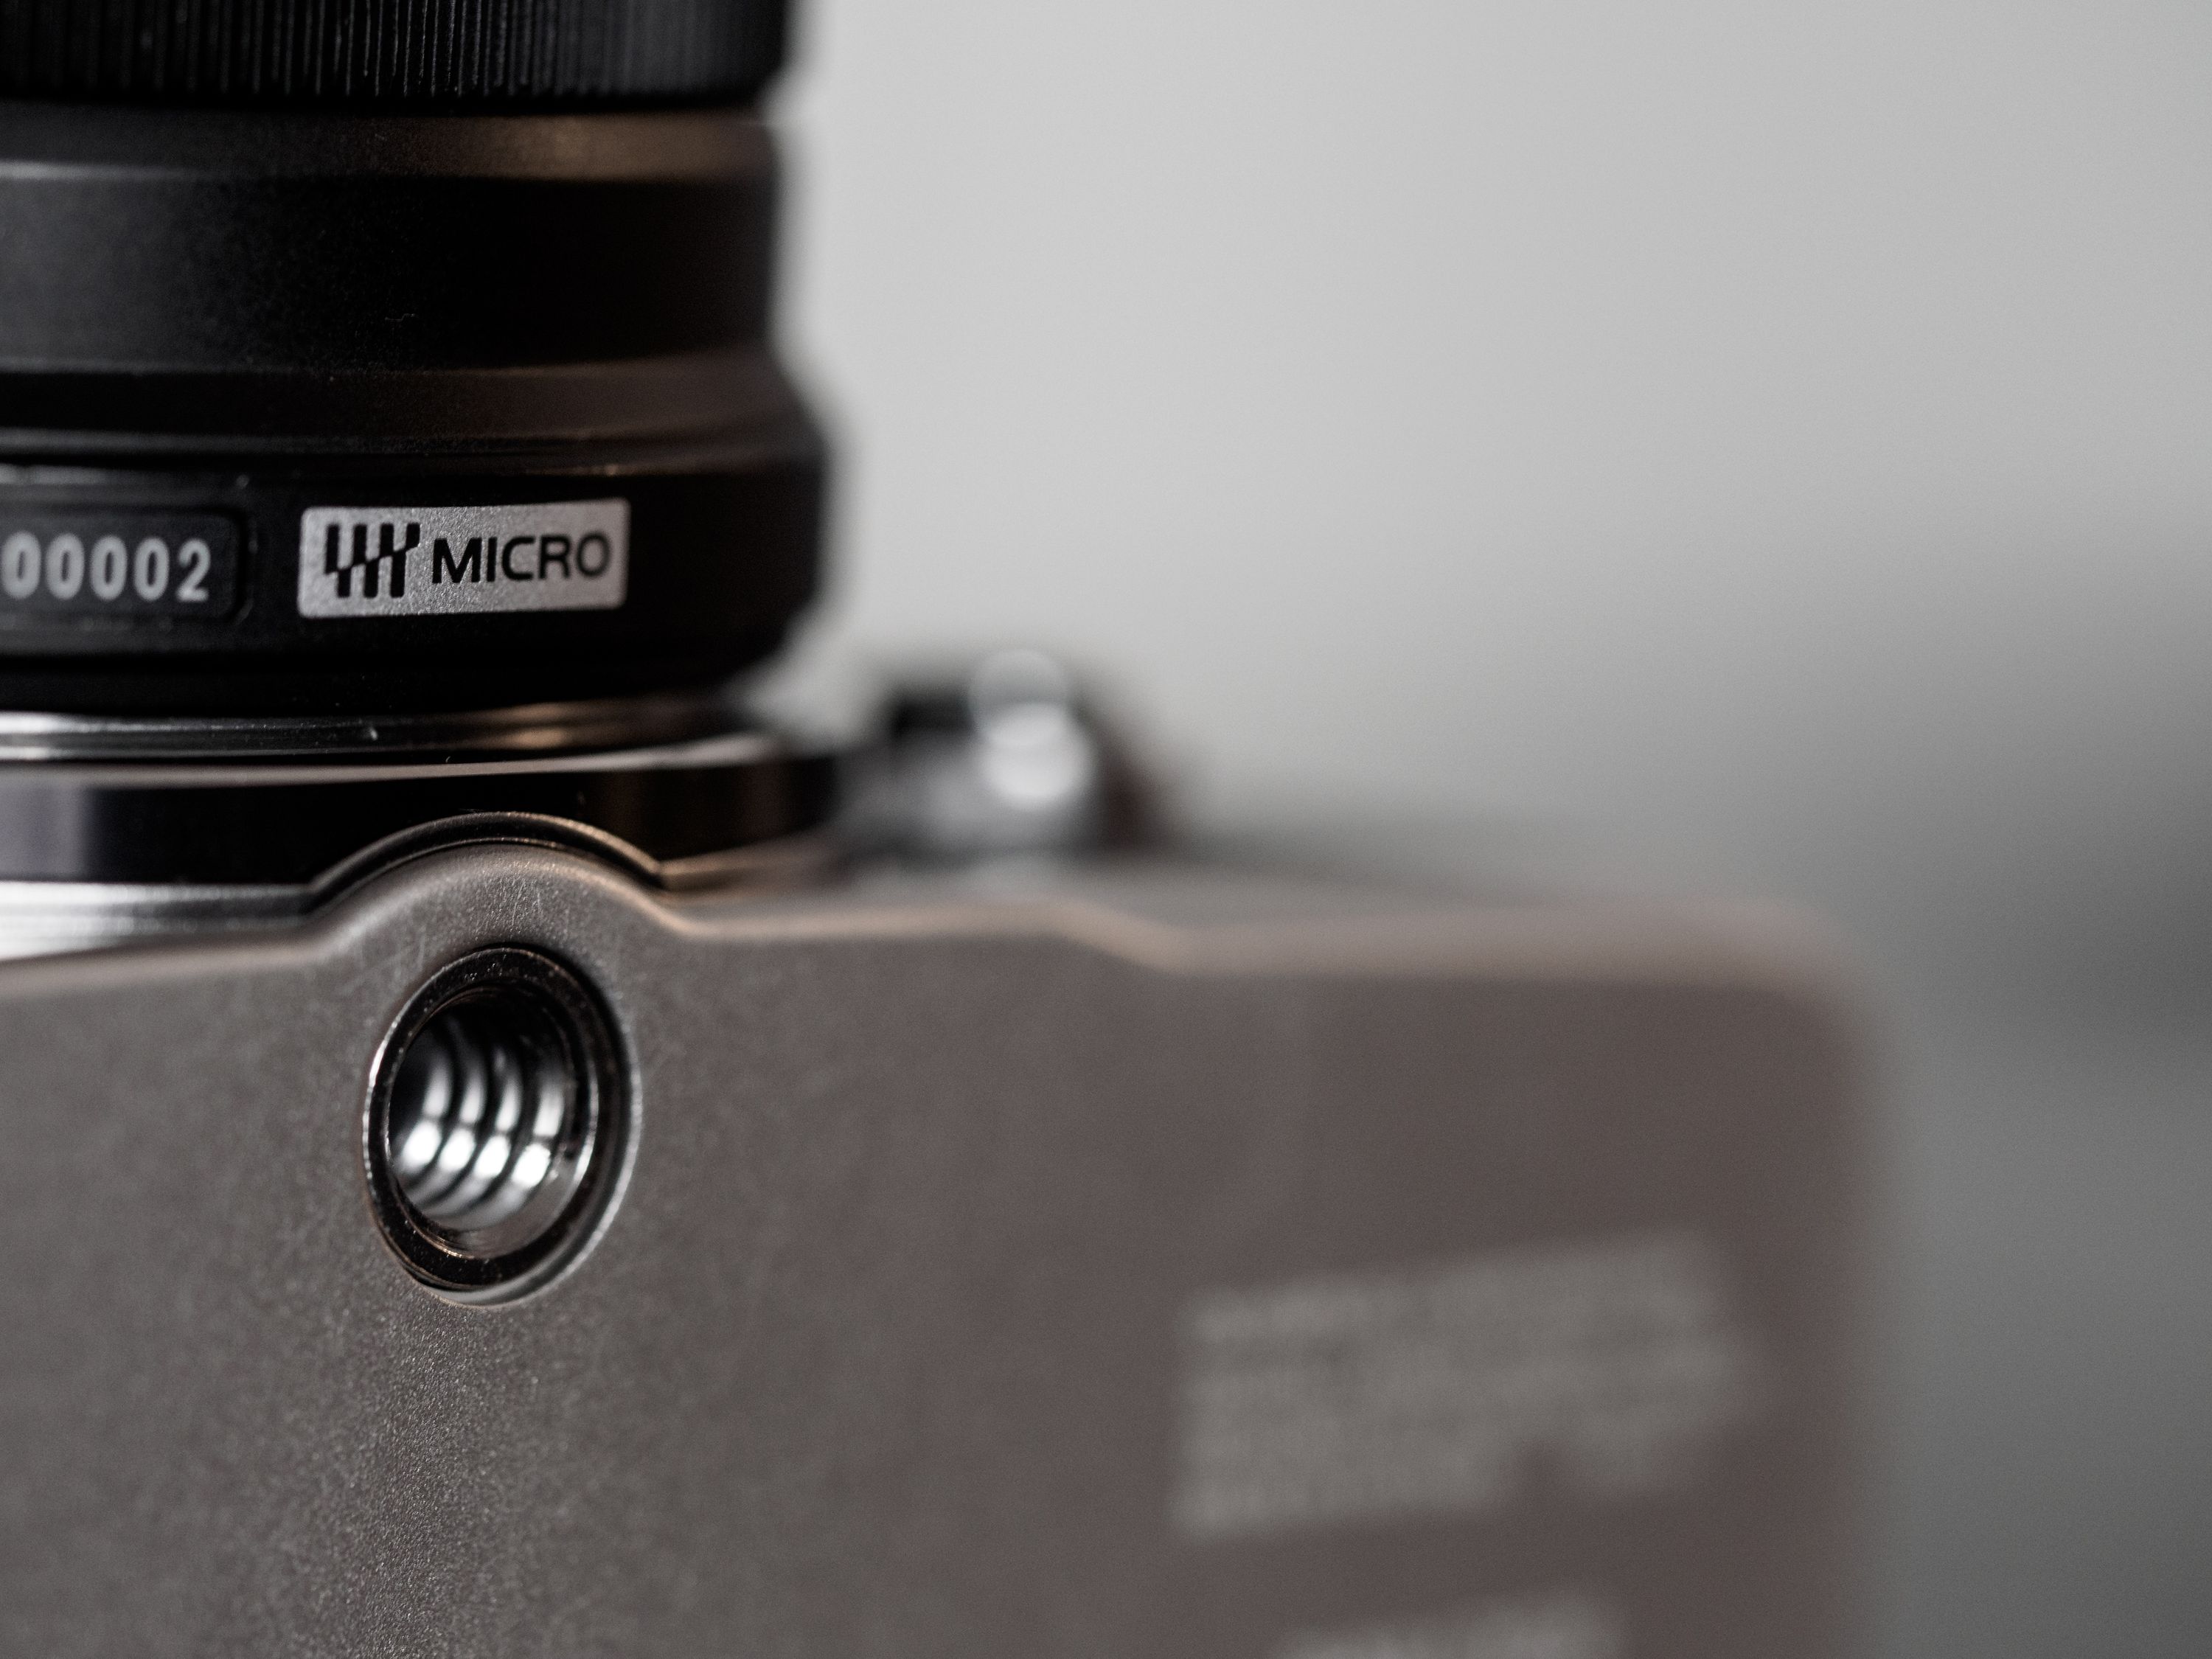
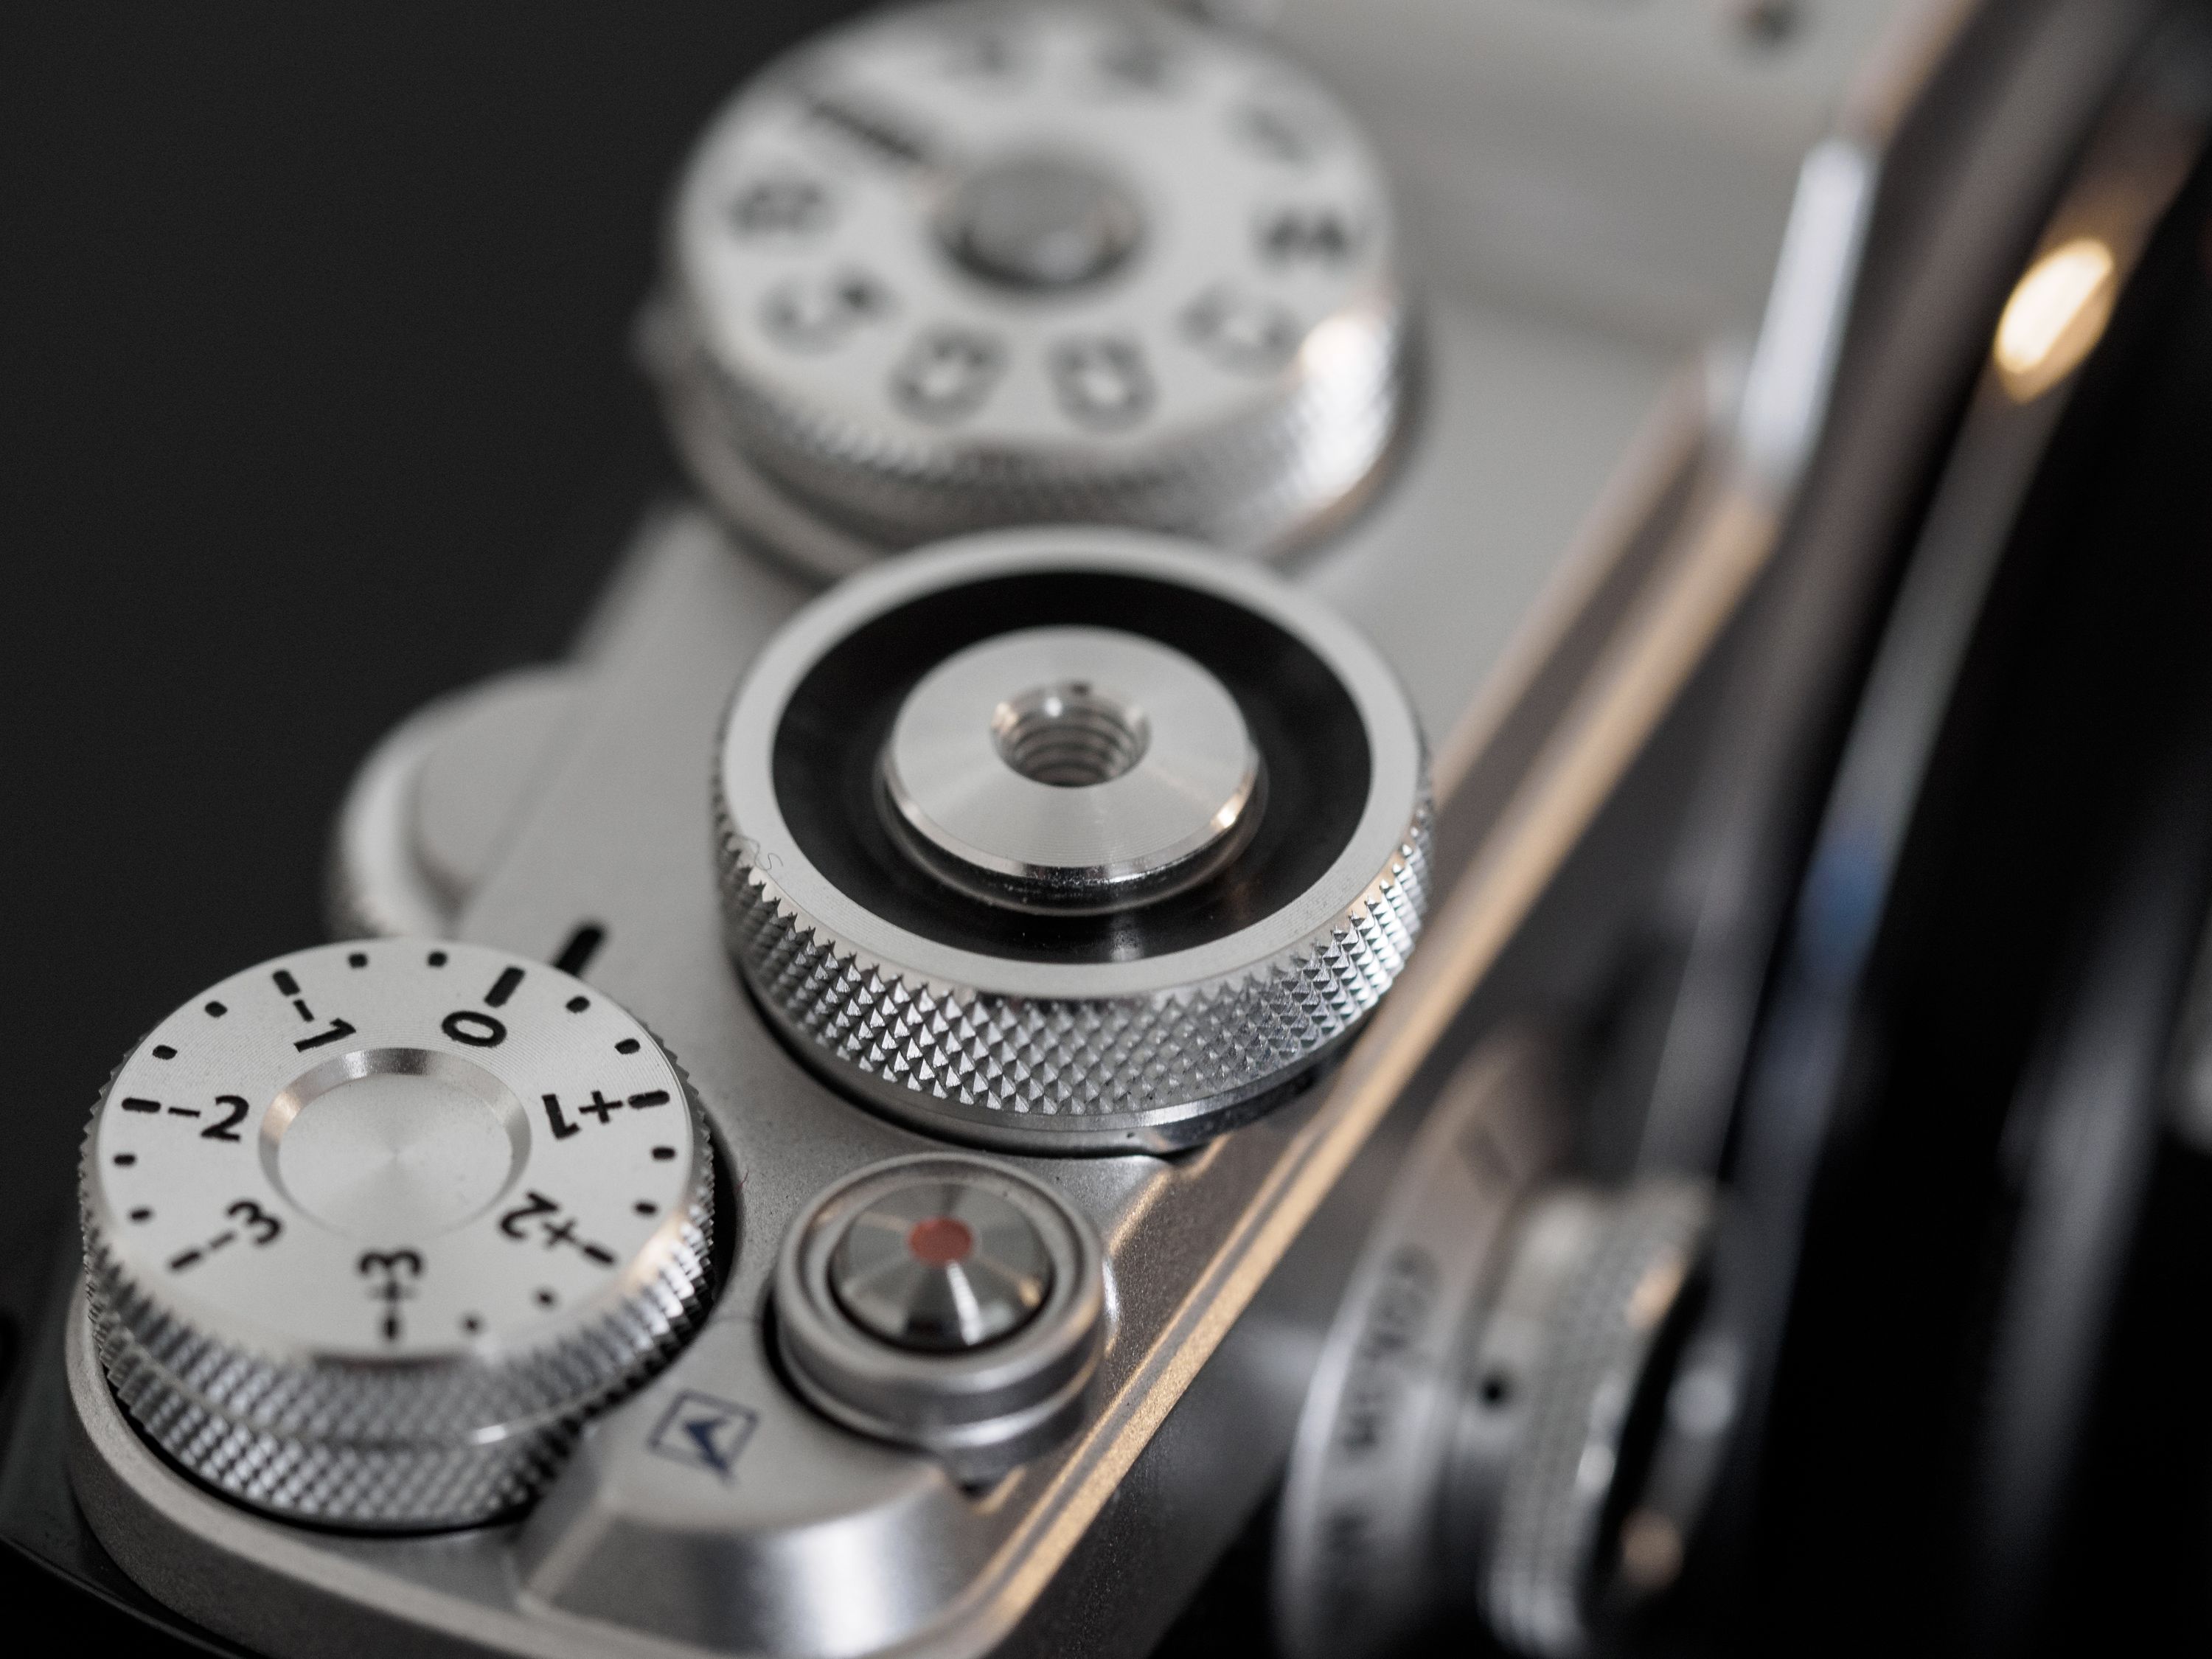
Another is the placement of the tripod mount. It actually protrudes forward, putting it right under the lens mount instead of in the middle of the camera body. I’m not entirely sure why this bothers me, but it does, and it means that my BlackRapid strap’s mounting screw can’t grip the camera body as securely as it does on other cameras.
I assume it was positioned this way to keep the camera from pulling forward when any of the larger lenses are attached, but this seems like a strange move for a camera that’s clearly made for small lenses.
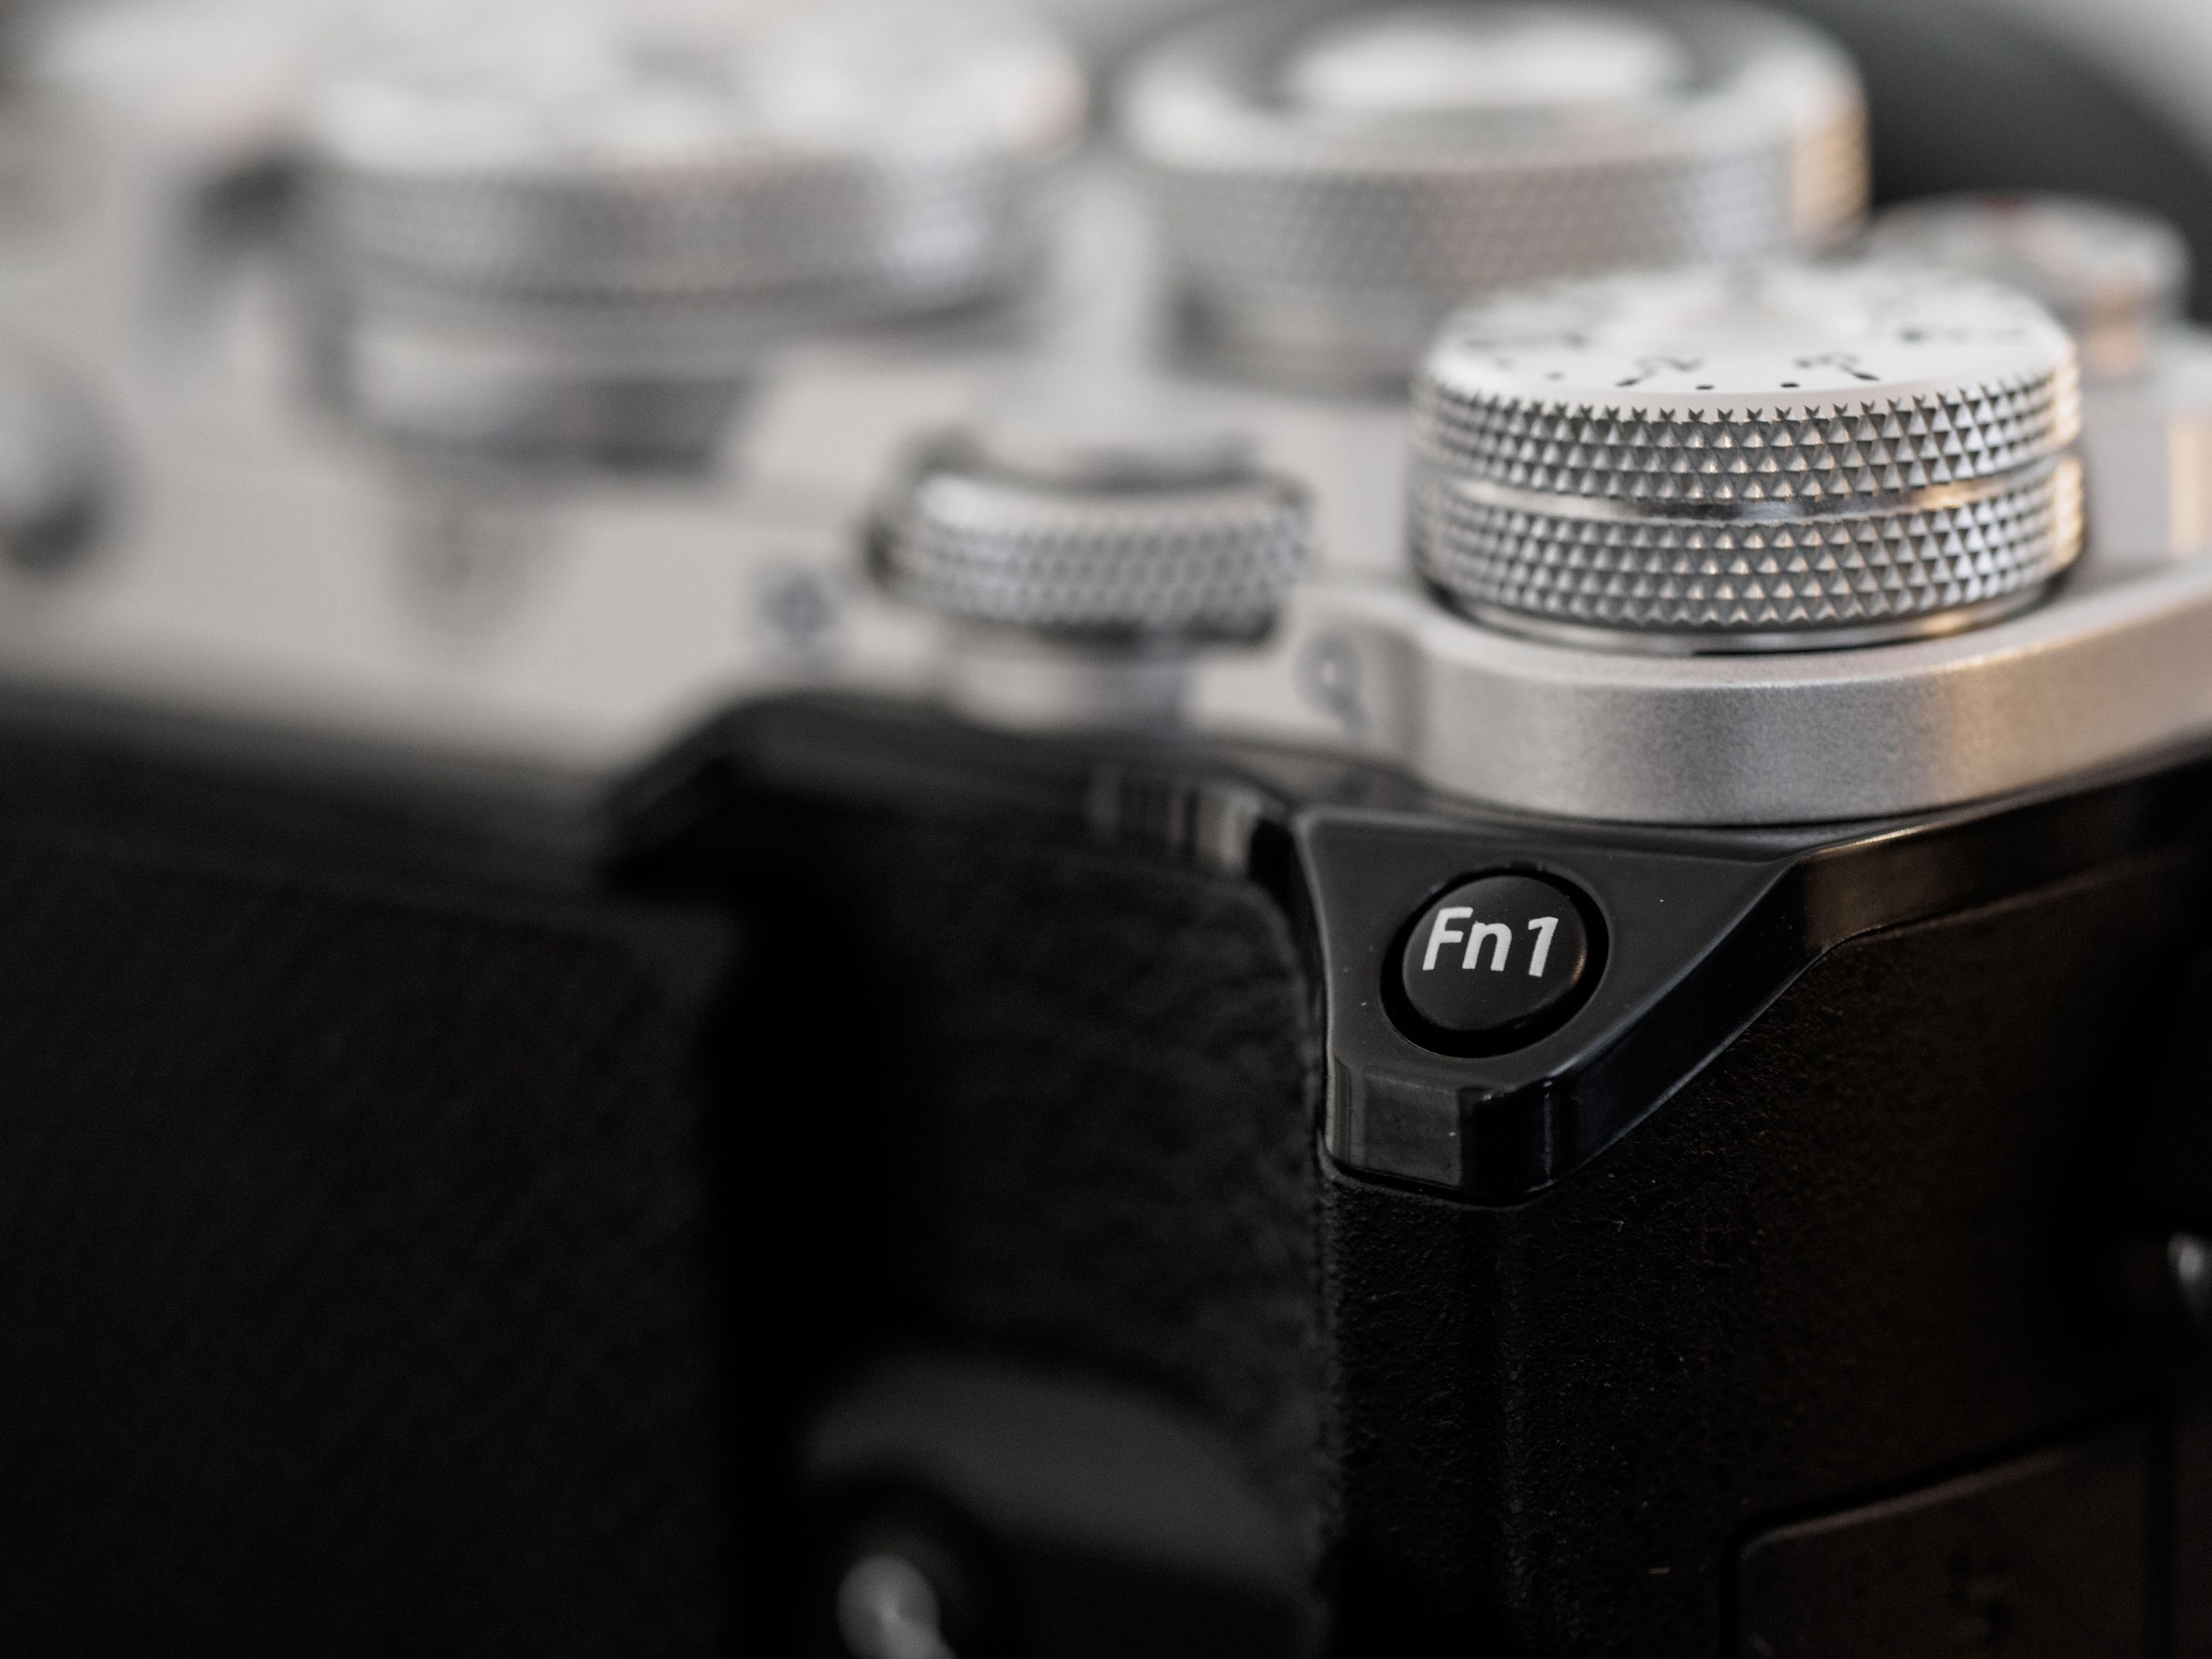
Control Freak
Fans of Leica’s minimalist approach to camera controls will still find themselves haunted by the proliferation of dials and buttons on the PEN-F. Unlike the immediacy of my favourite Fuji bodies and their predetermined dial functions, the PEN-F is something of a clean slate.
Like other Olympus bodies, this one is full of customizable control points, and while it takes some time and effort to set things up the way you like, you have the advantage of building a control scheme that’s 100% in tune with your needs.
Buttons offer a good amount of travel, dials turn consistently, with well tuned resistance, and have a crisp, satisfying click. The classic OM-D twin dial setup has made the transition to the smaller PEN-F body with no real compromise in usability.
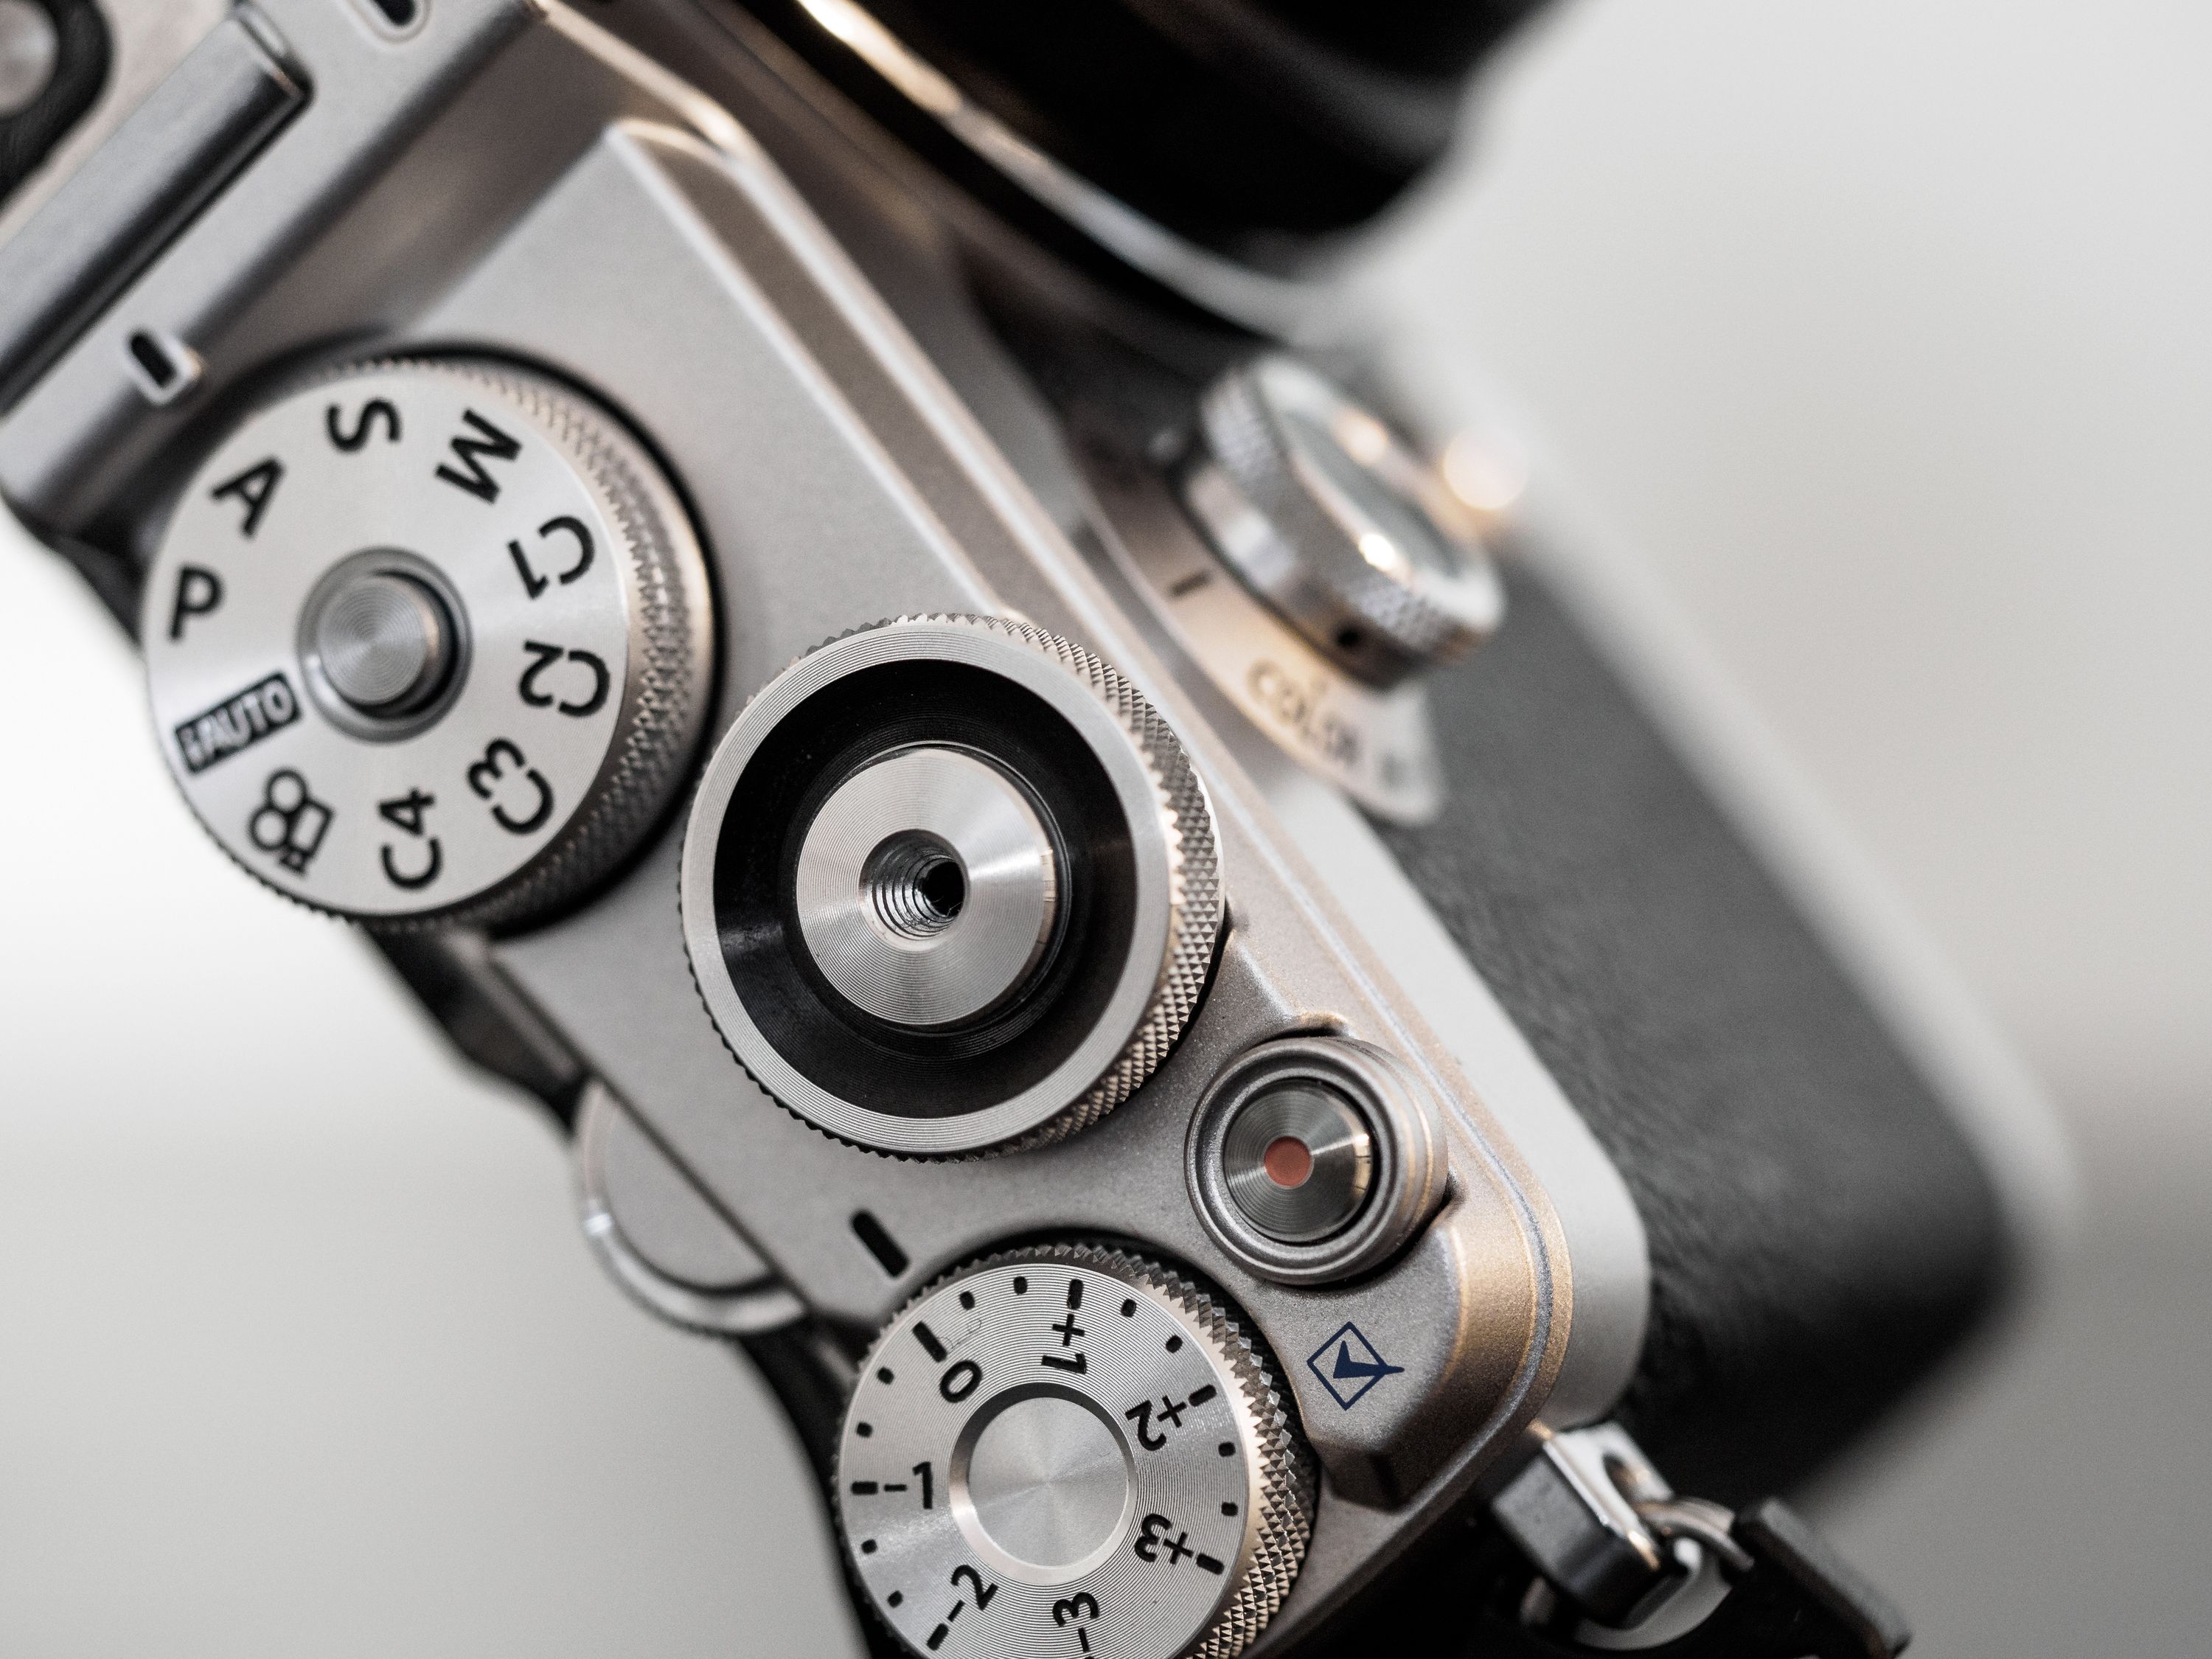
There’s no 2x2 function switch on the back like on the E-M1 or E-M5 Mark II, but the mode dial does have an additional lever underneath it that allows you to quickly access curves settings. It can be flicked in either direction to cycle through additional settings.
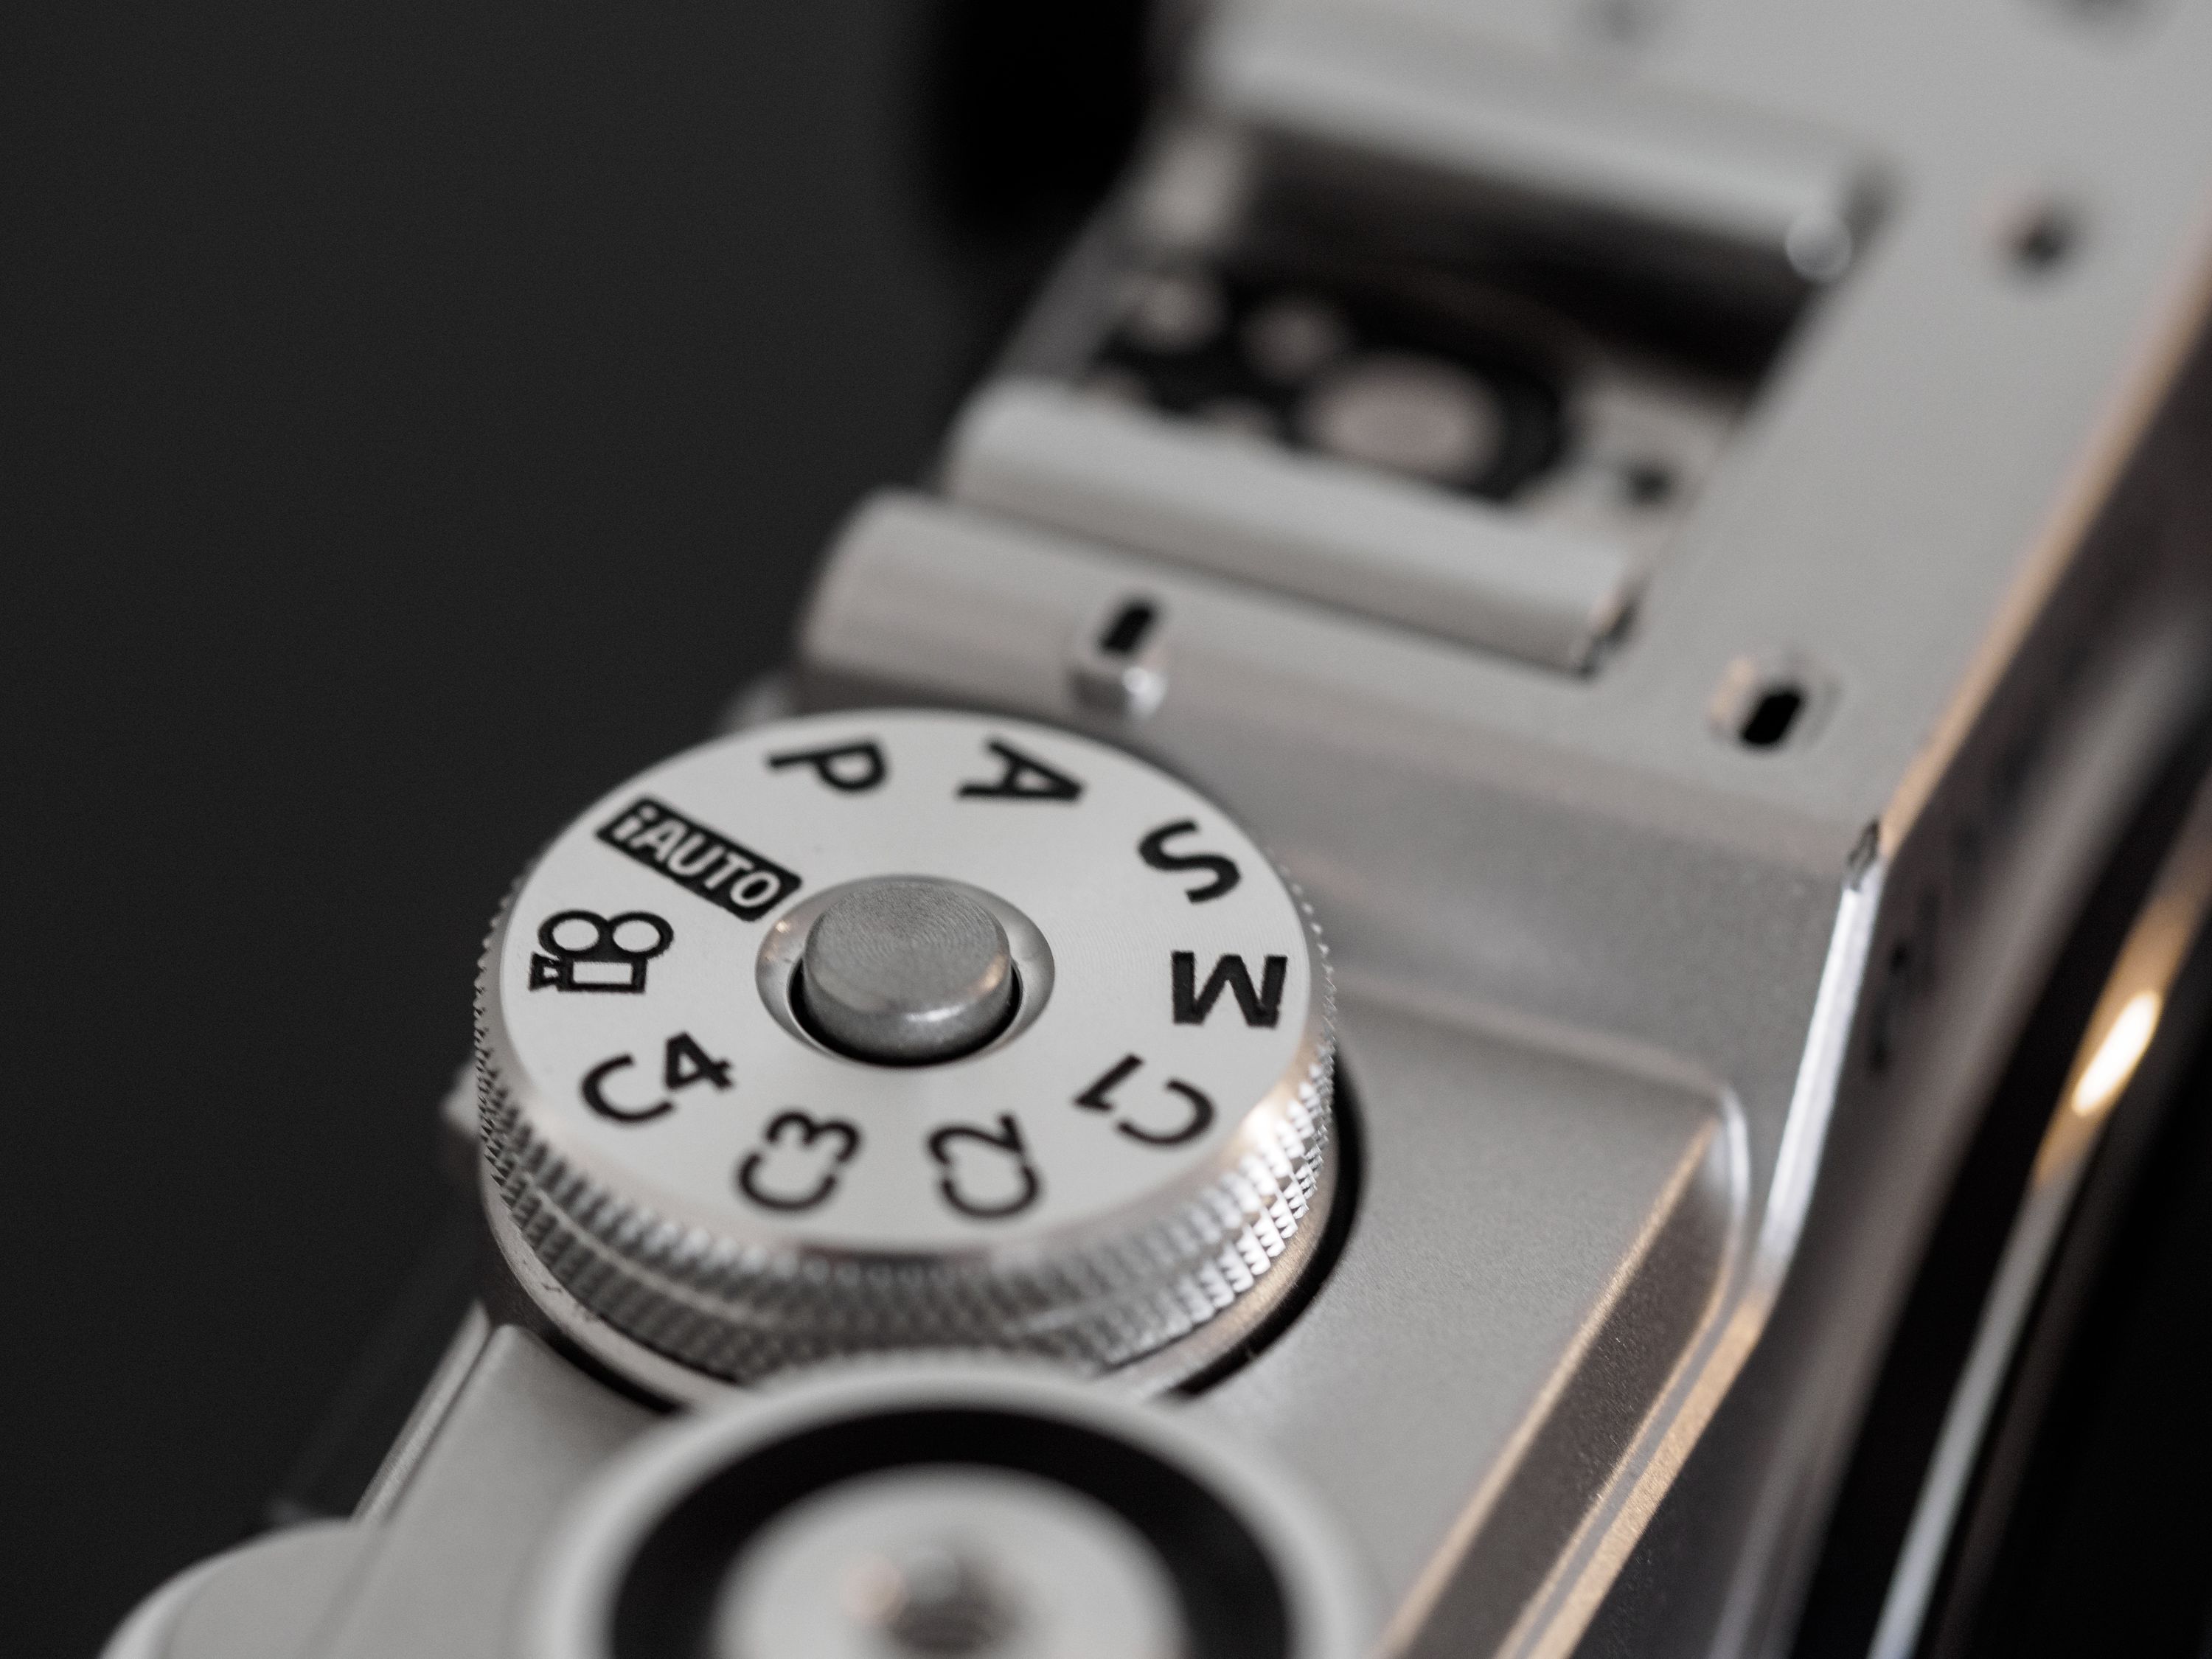
The mode dial itself includes no less than four custom setting slots. Each position can store its own complete camera configuration, including metering, autofocus, exposure, auto-ISO, creative style, and other settings. This makes it very easy to have a mode dedicated to normal daytime shooting, one for high-speed action, and another for monochromatic low-light contexts, for example.
I prefer this dial-based approach to the former MySets functionality, which seems to be deprecated.
The rest of the button layout is largely familiar, with everything I need within easy reach. I suppose you could argue that the power dial is poorly placed on the far left edge of the device, where it might be prone to accidental activation in a bag, but I haven’t had that problem.
Still, it’s one of only two controls that feel placed purely for aesthetic reasons, the other being that notorious creative dial on the front…but we’ll get to that later.
Screen & EVF
Just like I do when shooting an E-M5 Mark II, I take advantage of the PEN-F’s articulating screen by keeping it flipped closed most of the time, facing in. This turns the camera into even more of a retro film look-alike, but it also feels more focused and discourages unnecessary chimping.
To make this possible, the PEN-F has been given an electronic viewfinder - a first for the PEN family.
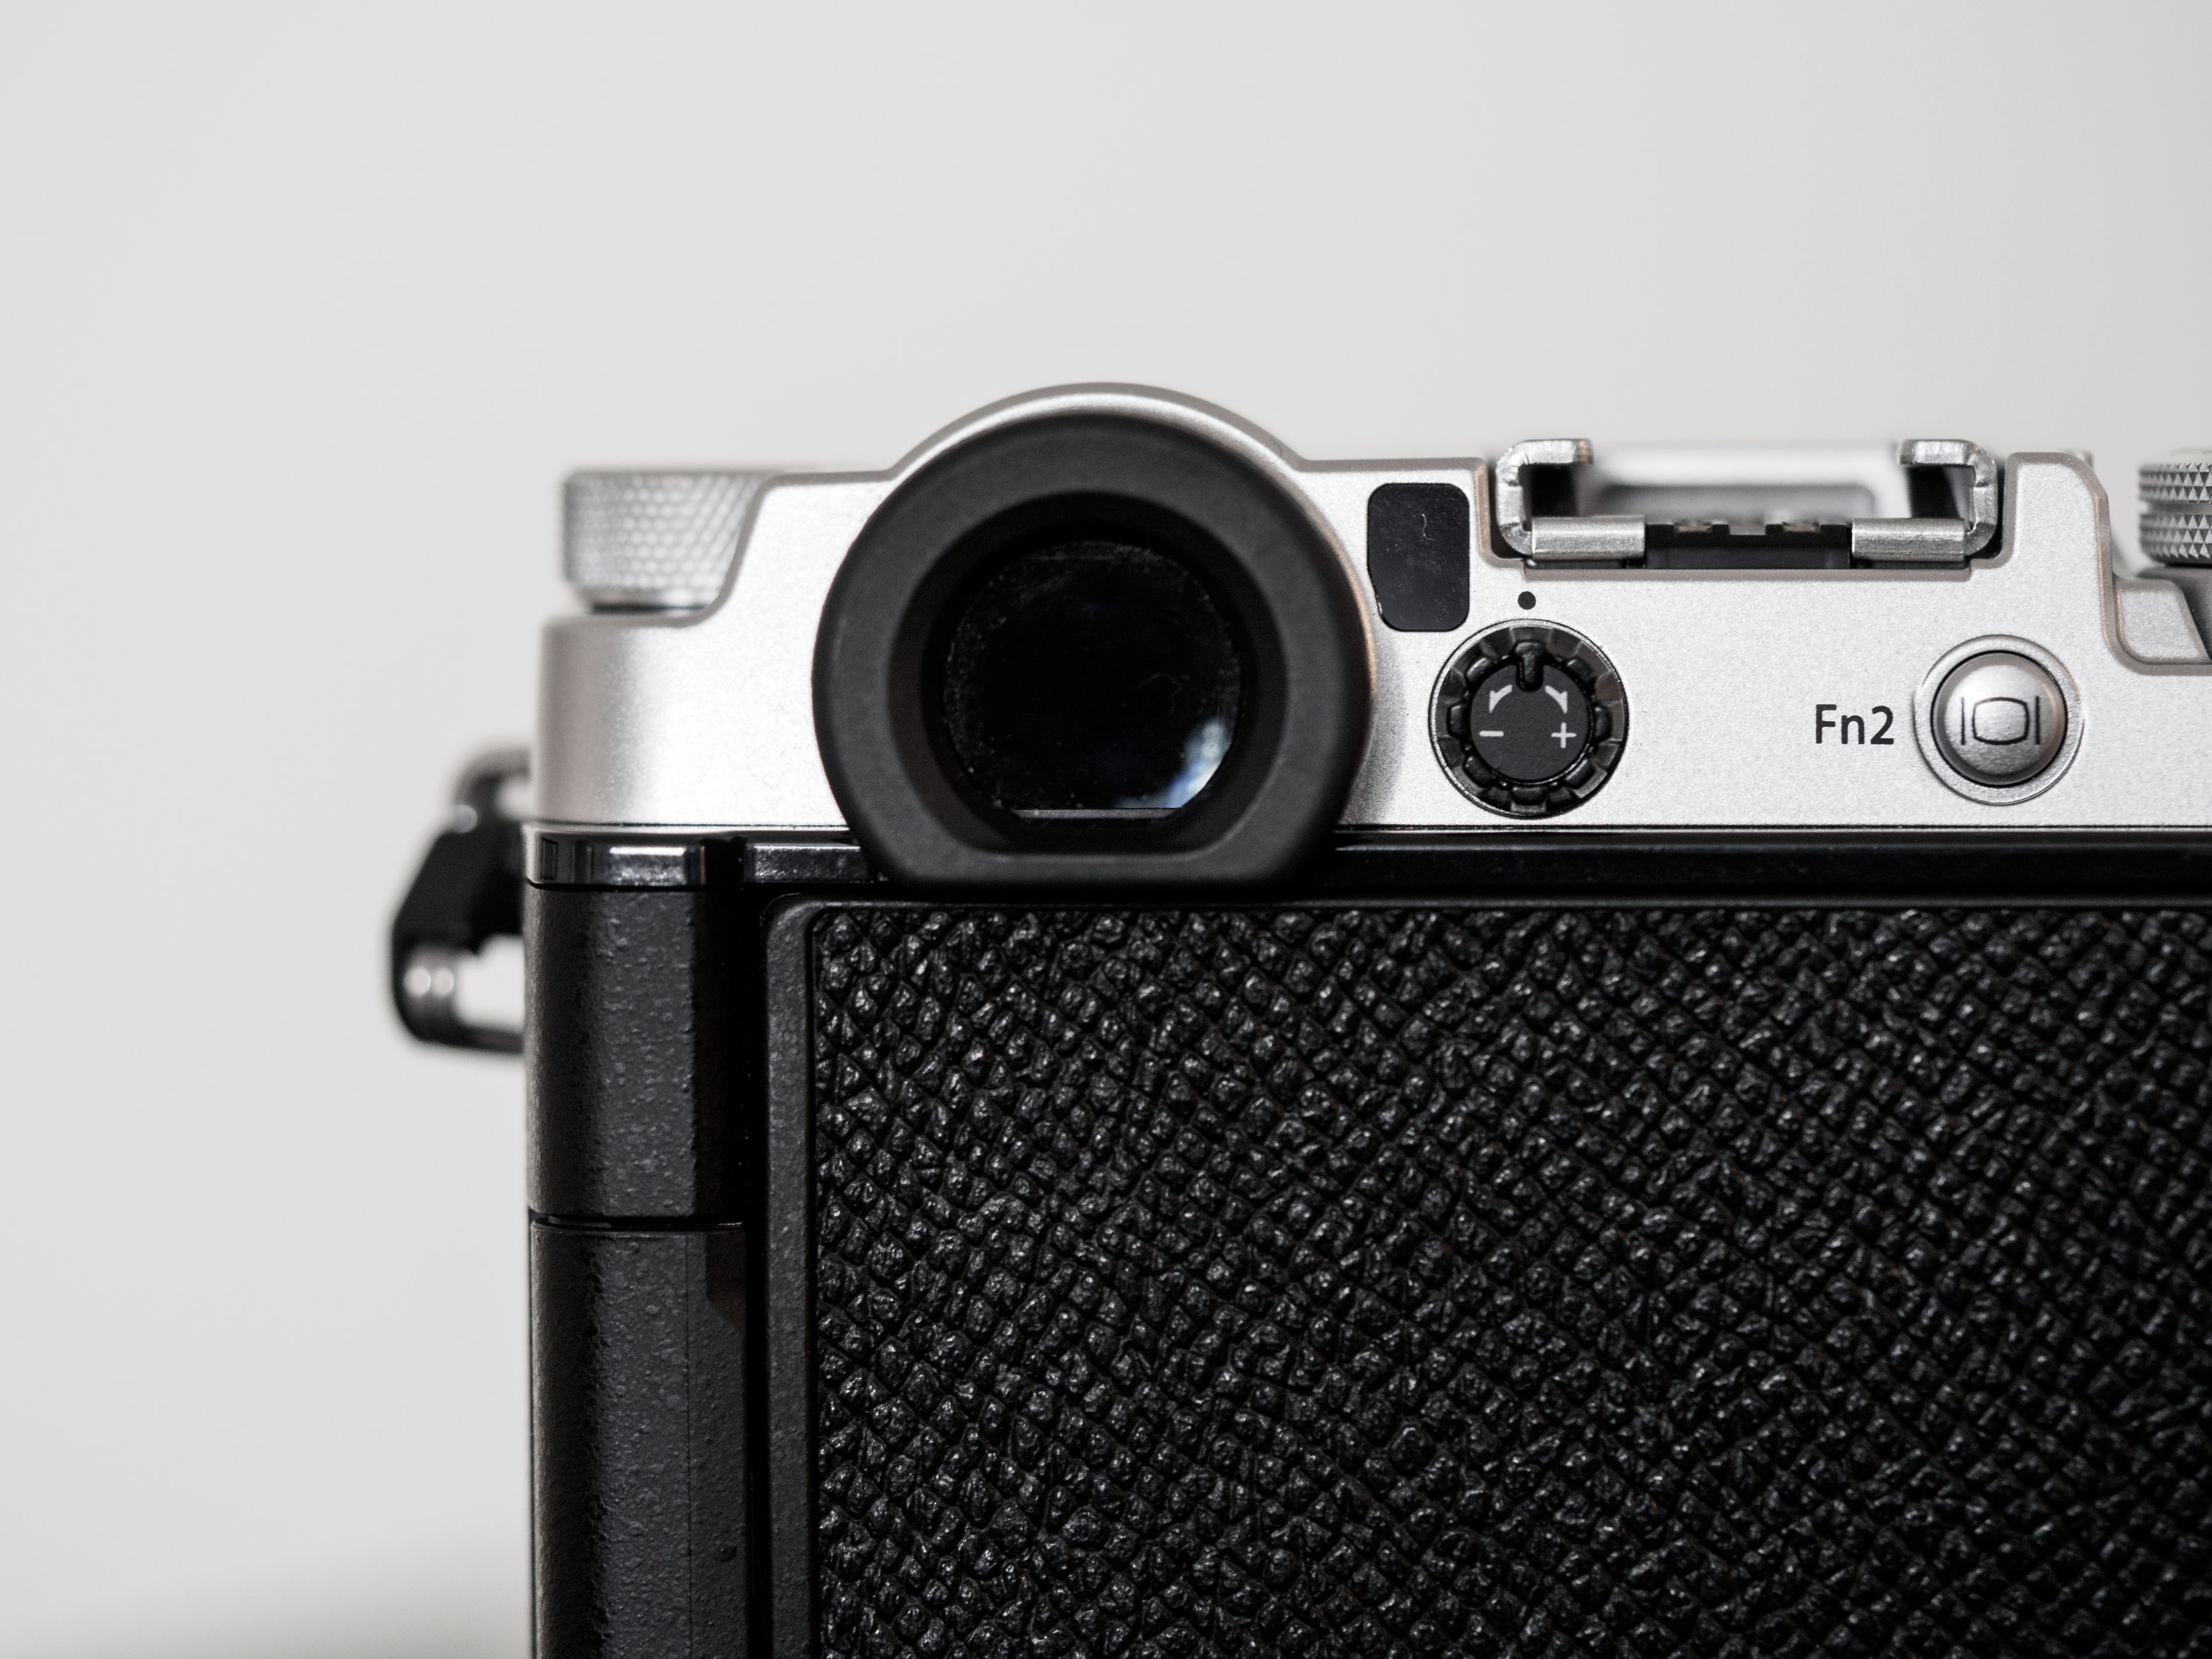
The EVF isn’t as expansive or as responsive as the Fuji X-T2’s, but it’s more than capable of rendering a trustworthy representation of the scene. It also has a much firmer eyecup than the OM-Ds’, which are always falling off and disappearing on me.
Functionally, both the EVF and screen are essentially the same as on other Olympus cameras so I won’t waste time going over specifications. What matters is that having an articulating screen is as useful as ever for those unusual angle shots, and Olympus continues to excel at making good use of touch sensitivity.
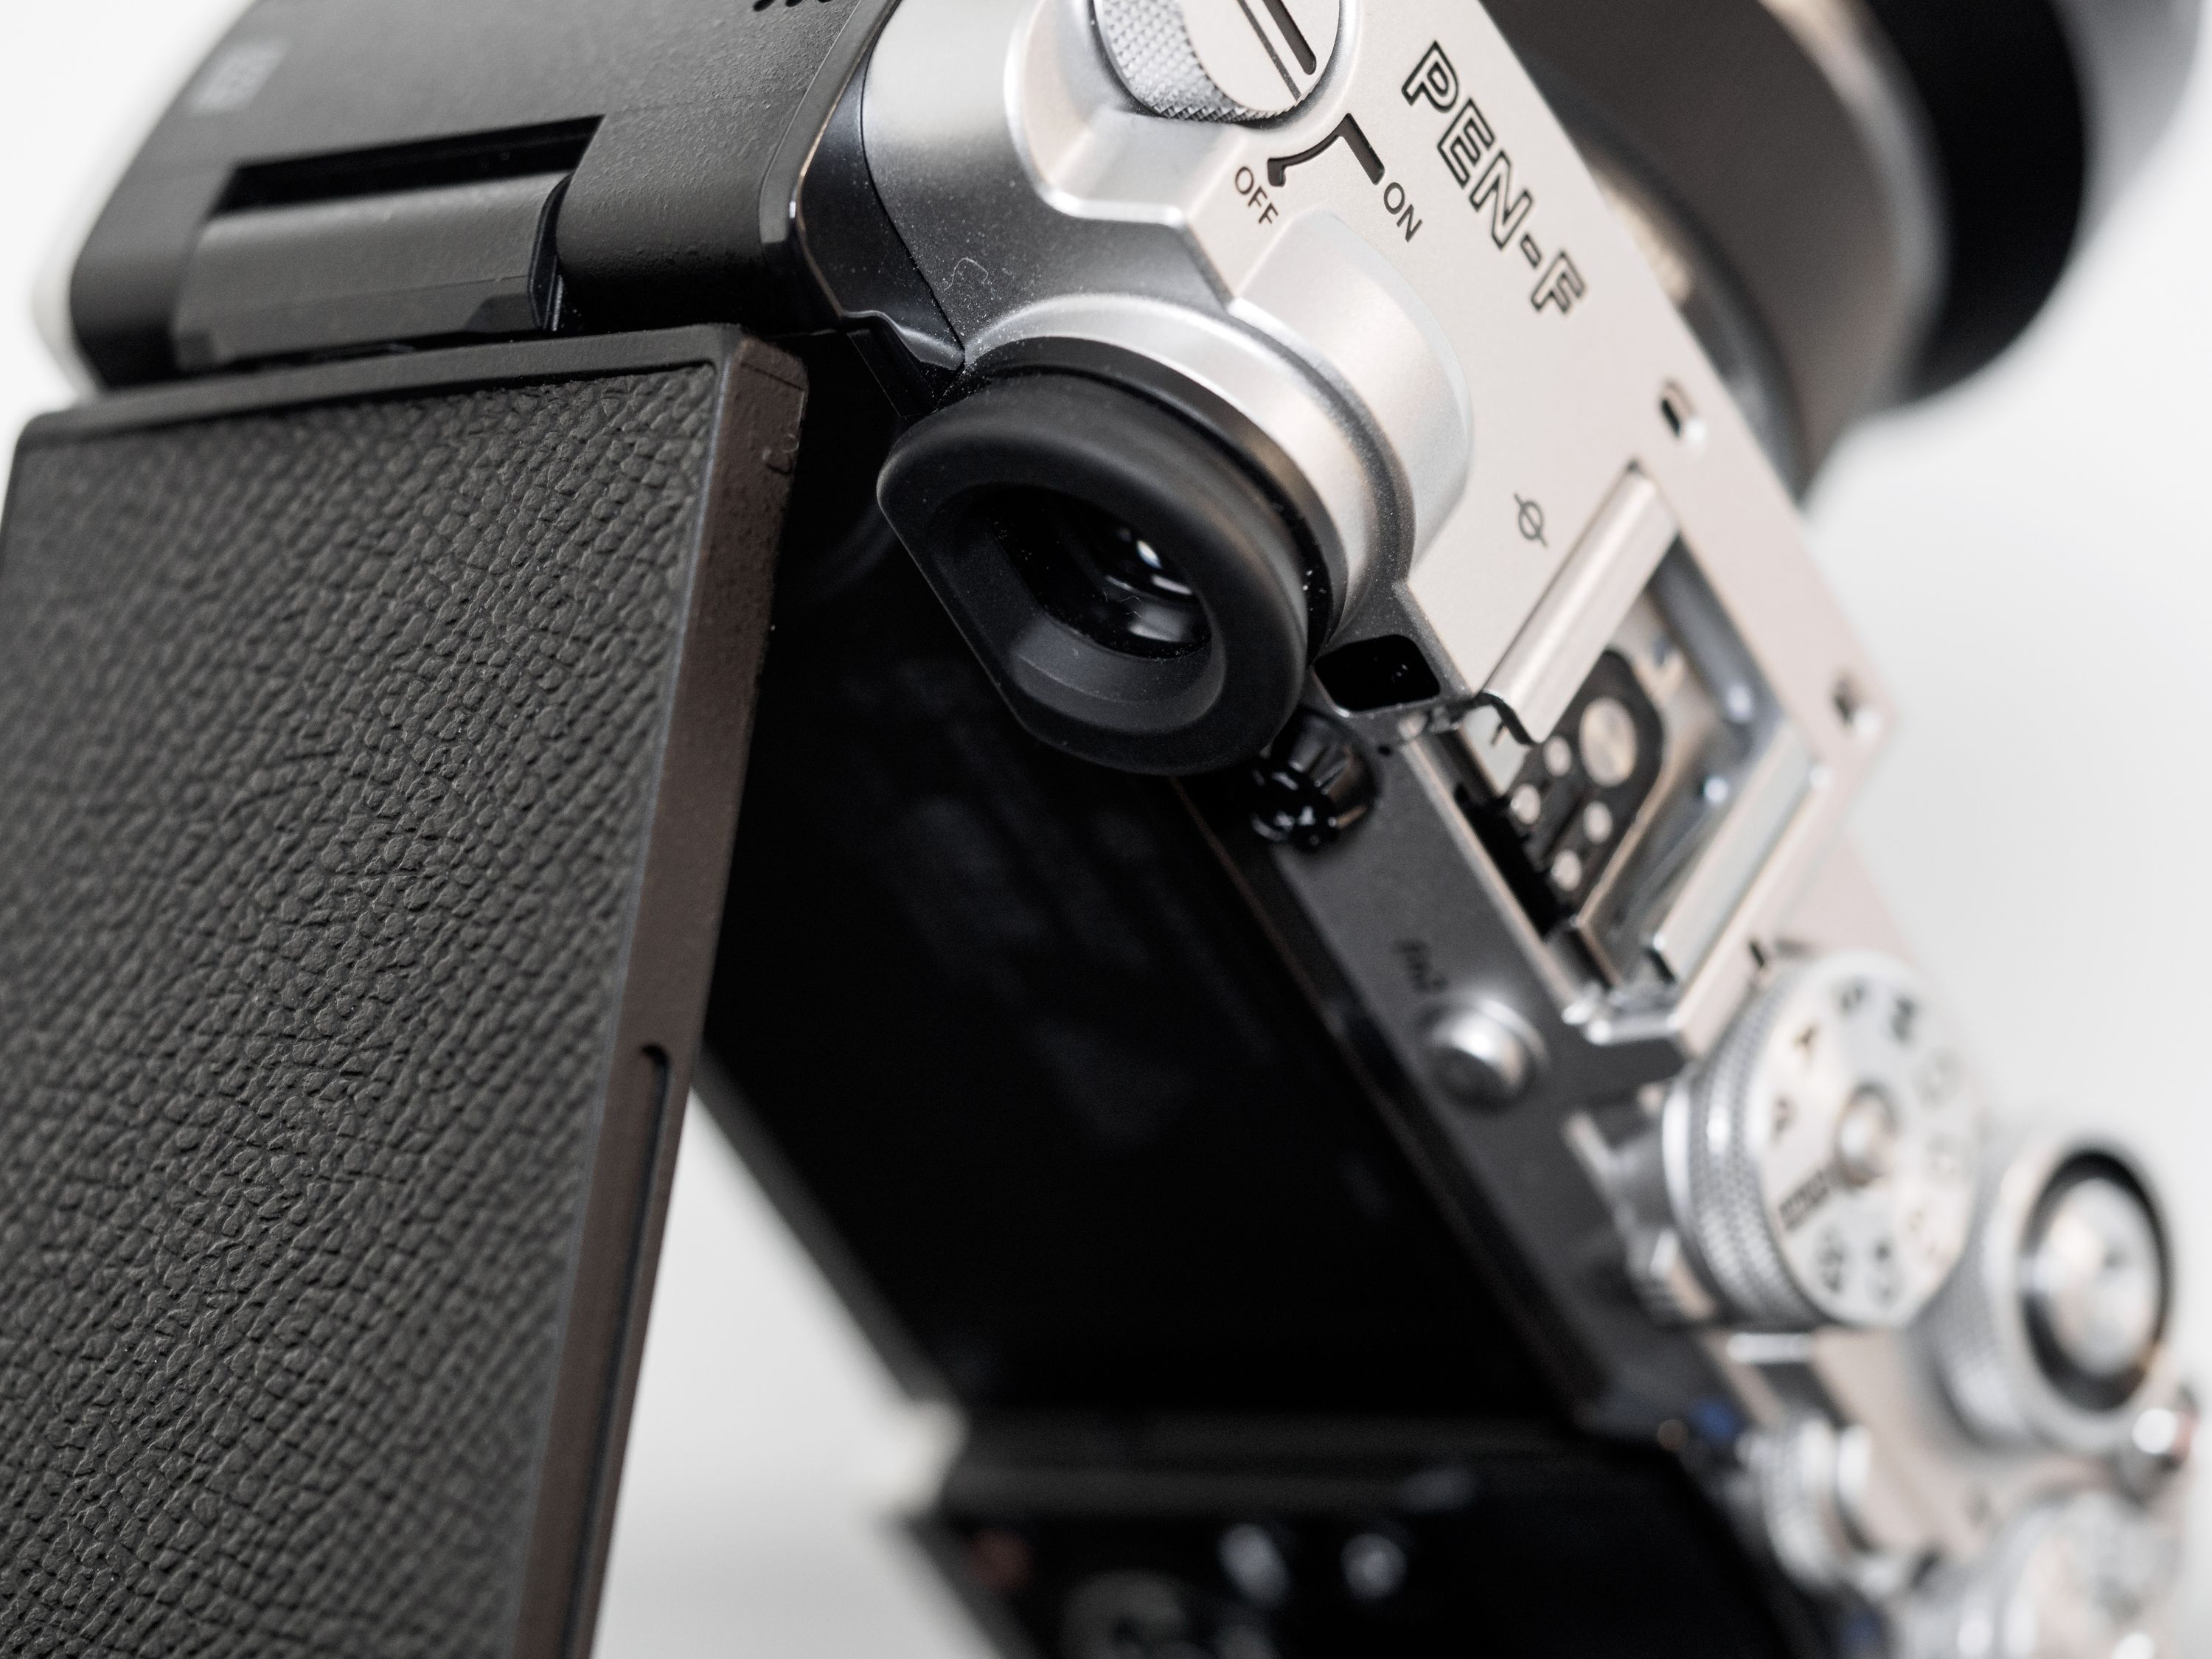
My favourite example of this—and the main reason I flip the screen outward—is to use my thumb as a focus point selector with my eye to the EVF. It feels like such an obvious and clever thing that it’s no surprise to me that Sony has borrowed the feature for their new a6500.
Performance & Longevity
For someone who almost never shoots bursts and tends to avoid C-AF, the performance of the PEN-F was never an issue.
That being said, I did test both of those aspects during my review period and found them to be perfectly adequate for the kind of shooting I expect people to do with this camera. For instance, it’s true that the C-AF is nowhere near good enough to track fast-moving subjects like active wildlife and sports targets, but I doubt anyone’s buying the PEN-F for that.
However, for keeping a lock on the gently swaying faces of a portrait subject, it performed flawlessly, and a burst rate of 10 frames per second seems more than sufficient to capture a range of facial expressions.
The S-AF, meanwhile, locks on with confidence despite the entirely contrast-based AF system. Provided you’re using a quick lens like the 17mm ƒ/1.8 or the lovely 12-40mm ƒ/2.8 PRO, you’ll be just fine.
One area that’s definitely slower than my X-Pro 2 is the startup time. The PEN-F appears to share my general attitude toward waking up, so I tend to leave it on and endure the battery hit rather than trying to switch it on in time to catch a key moment.
Speaking of which, the Achilles heel of mirrorless cameras rears its ugly head again: battery life is still mediocre. It seems batteries are the new film; storage of shots is no longer the limiting factor.
If you’ve never shot with a DSLR, you might not be bothered by metrics like 300-400 shots per battery, but for those of us coming from bodies that routinely allow 1,000 shots or more per charge, the transition to mirrorless hasn’t been easy.
That being said, I do manage to get 400 shots out of my PEN-F pretty reliably before it’s time to switch out the battery. This is with very little screen use, and the EVF set to high refresh rate, so as far as mirrorless goes it’s actually pretty decent.
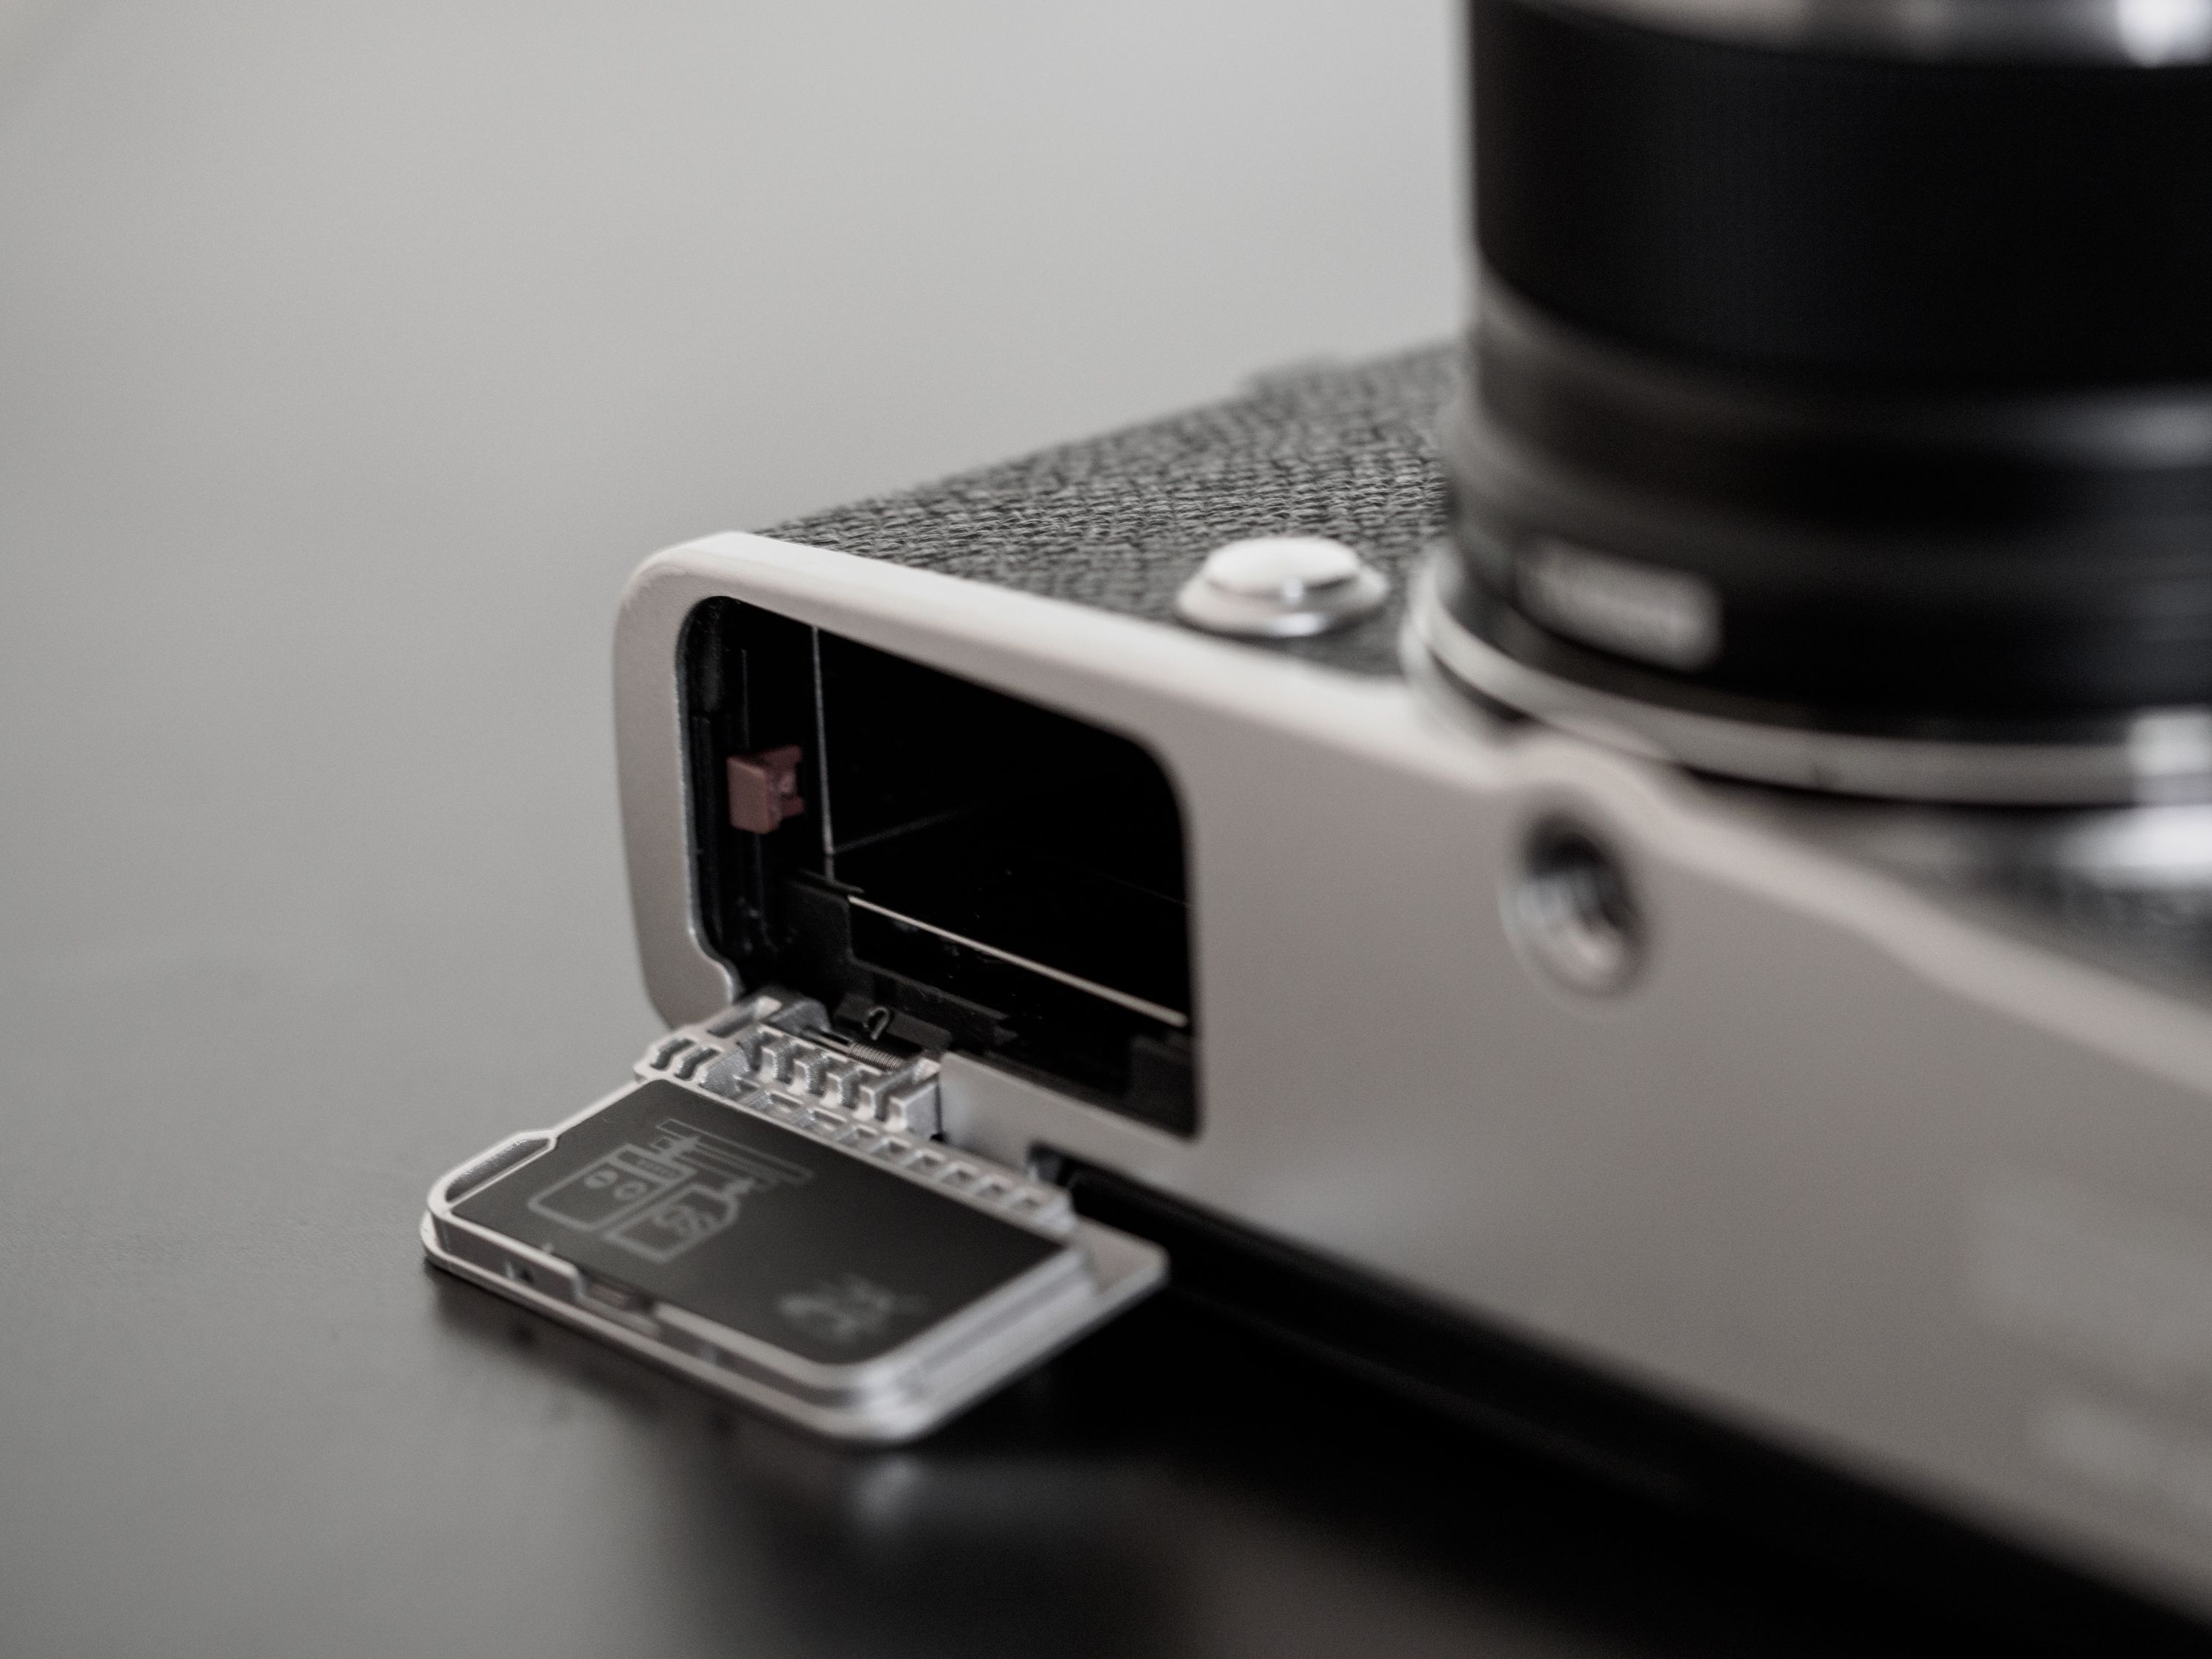 In an unfortunate nod to consumer cameras, the battery and SD card both hide behind the same door on the PEN-F.
Still, I’m eager to get my hands on the Olympus E-M1 Mark II, if for no other reason than it being the first mirrorless body to ditch an old battery design in favour of a brand new, higher capacity one. I wished Fuji had done it when the X-Pro 2 and X-T2 came out, but they opted to stay with the same battery in deference to photographers who’d already bought a set for their previous generation cameras.
Buying more batteries seems like a small price to pay for twice the charge per battery, and I’m glad Olympus seems to agree with me.
Complexity
I’m not usually bothered by camera menus, but the Olympus software is among the densest you’ll encounter on a camera.
This is important because getting the most out of an Olympus camera takes some setup. Before it feels like yours, you’ll want to go through the menu and configure the functionality of each button and dial to place your most-needed controls where you expect them to be.
Doing this is often more difficult than it needs to be.
On a Fuji camera, for example, you can quickly remap any of the assignable buttons just by pressing and holding them. Doing so brings you directly to the menu section where you can adjust what that button does. For Olympus, changing button assignments means a trip into “gear menu B”. That’s one of 11 such “gear” menus, which are joined by two shooting menus, the playback menu, and the utility menu.
But hey, at least you don’t have to go into the bottom-most menu page and go digging in “User Settings” to access something as crucial as the card formatting options…looking at you, Fuji.
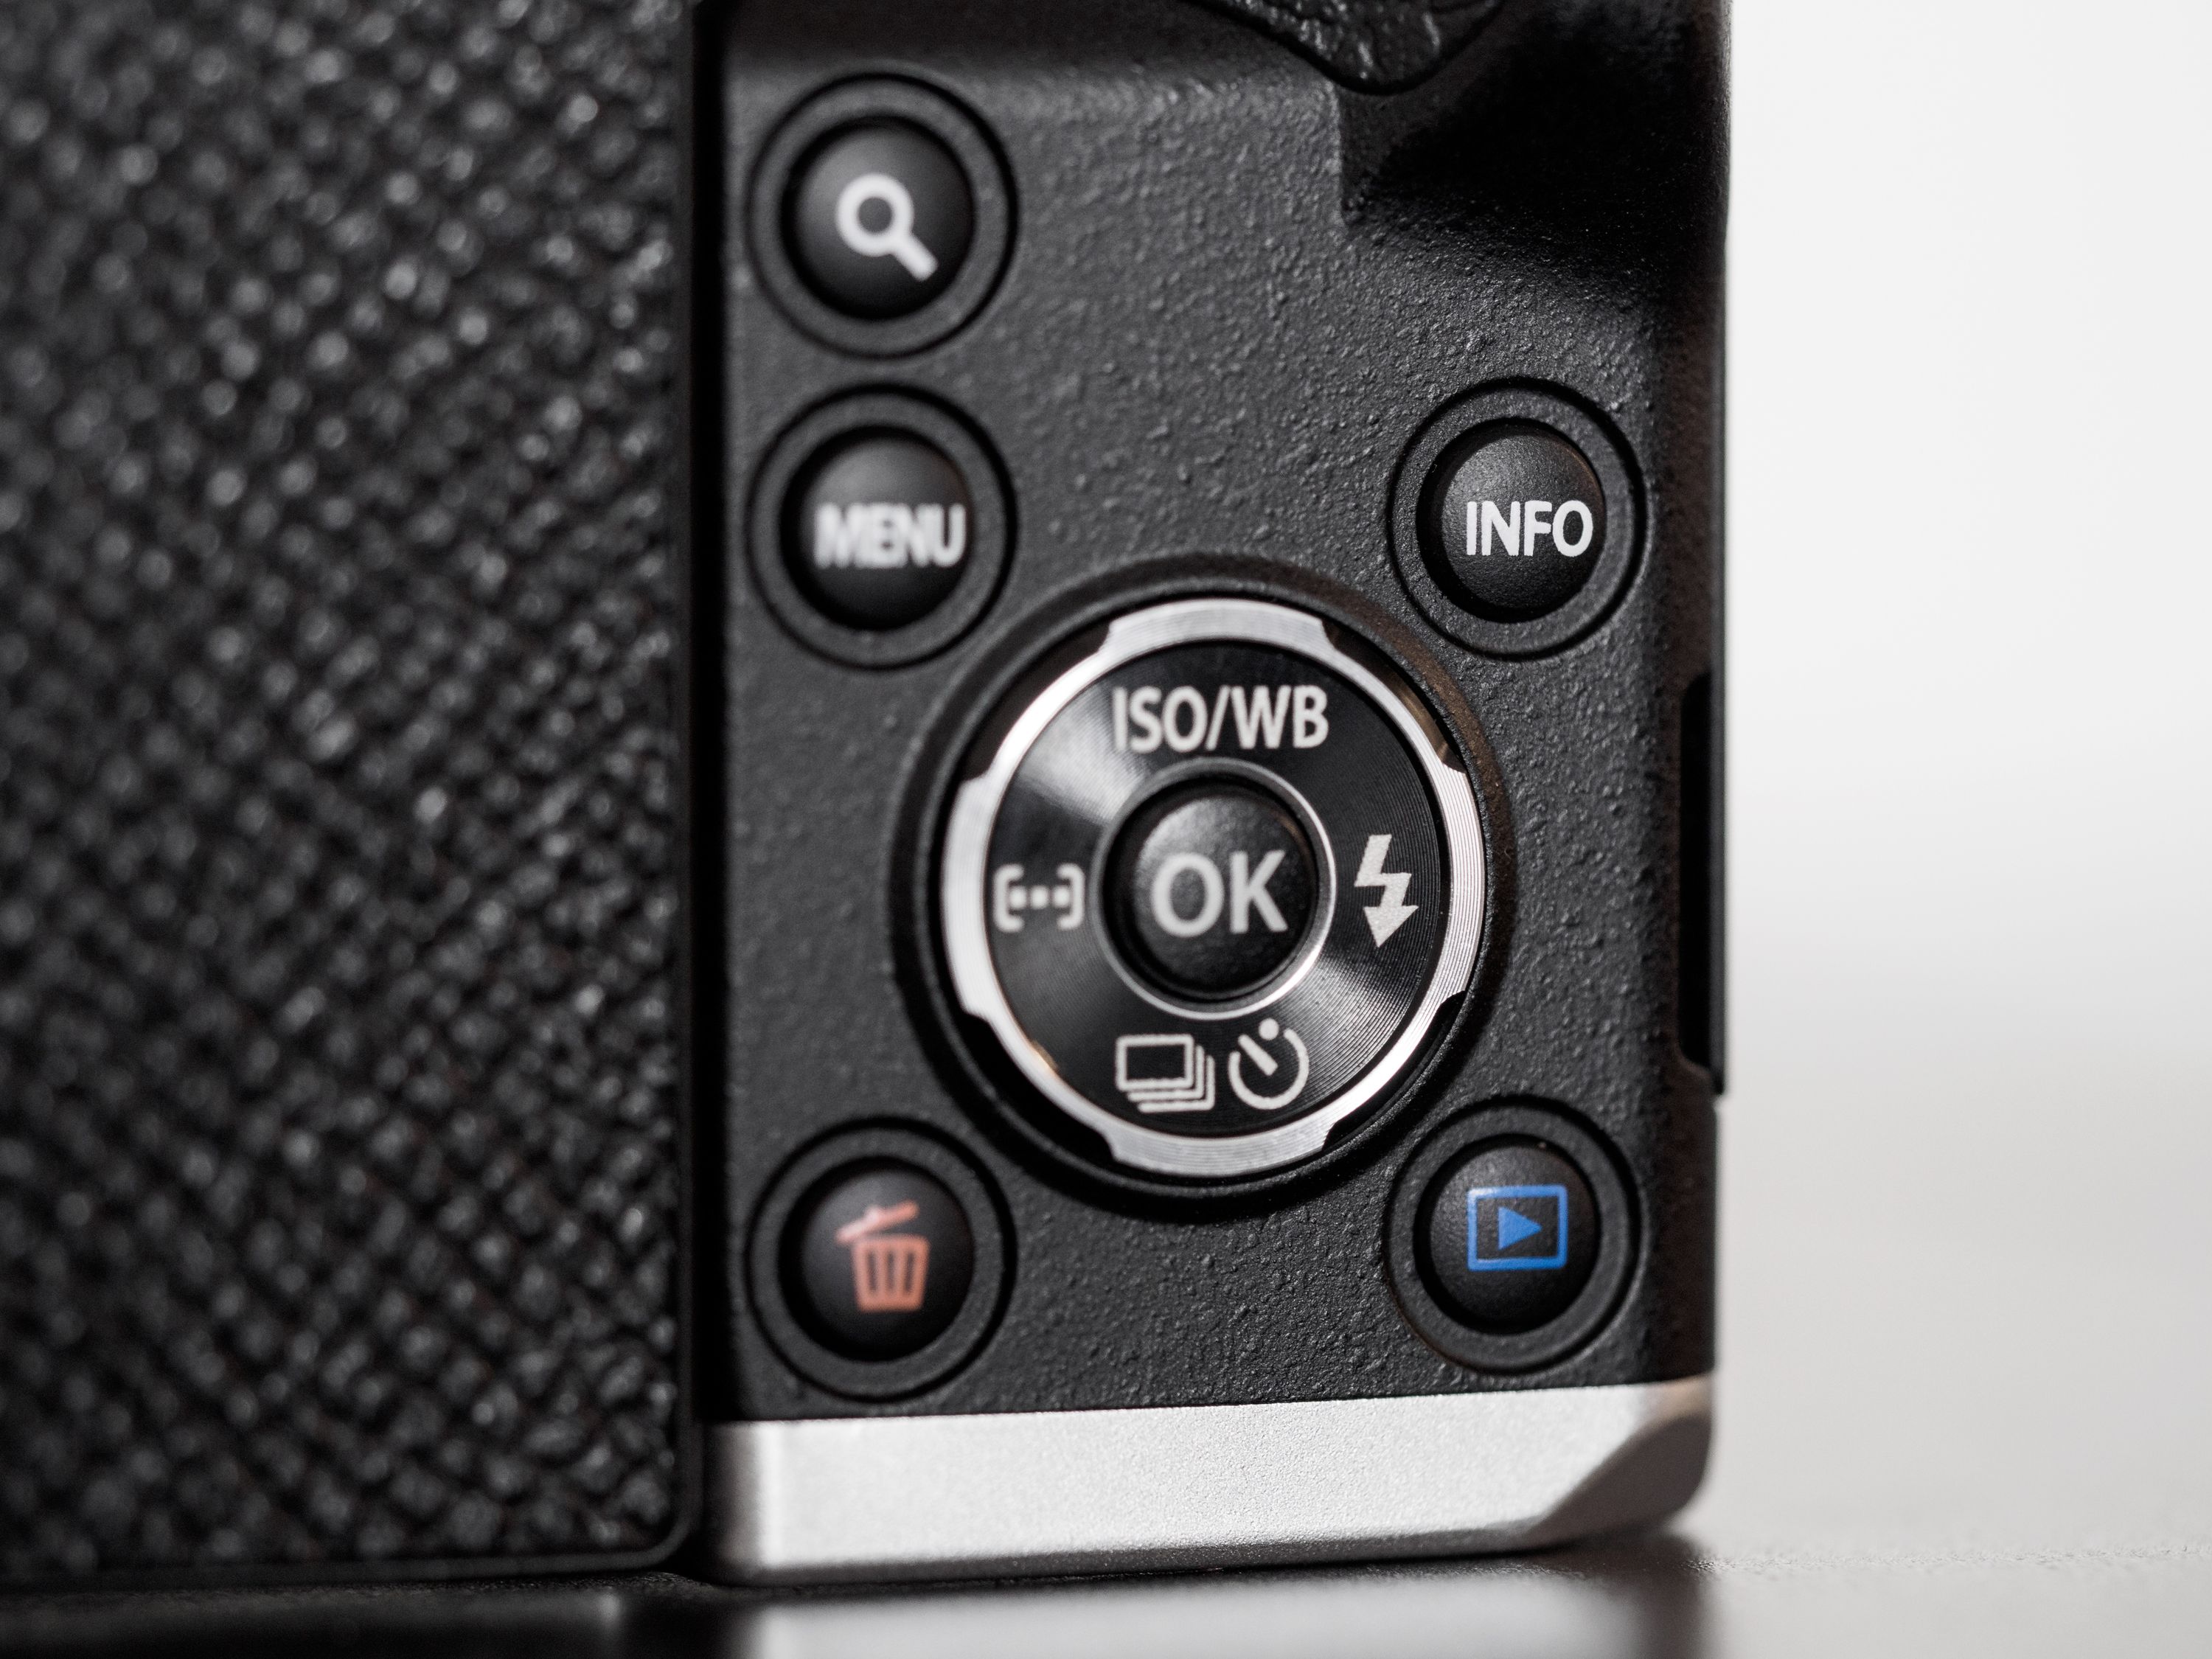
In the interest of fairness, I should also point out that Olympus’ version of what most cameras refer to as the “Q” menu is fantastic. Called the Super Control Panel, this handy display is summoned by a quick press of the OK button. You can zip around easily using the directional buttons, the dials, or tap around using your finger on the touch screen, and every important camera control is adjustable here.
In most cases, that’s the only menu you’ll ever have to look at once you’ve set everything else up to your liking, so while first impressions aren’t great, the software does get out of your way when you need it to.
A Digression on the Topic of Sharpness
Following in the footsteps of the Panasonic GX8 before it, the PEN-F is the second Micro Four Thirds camera (and the first of Olympus’) to cross the 20 megapixel resolution threshold.
Unlike a surprising number of other reviewers, I found that this modest 4MP bump made a noticeable difference in the level of detail being captured. In fact, I have to admit that the files I’m getting from the PEN-F in normal lighting are generally sharper than the ones I’m pulling off my X-Pro 2, despite the latter’s superior resolution.
 Here’s an example shot on the Olympus 25mm ƒ/1.8
 Zooming right in reveals a tremendous amount of detail.
As one of the world’s biggest fans of Fuji gear, you can imagine that this was not exactly the way I expected my tests to go. So what happened? Well, I blame IBIS.
IBIS, for those unfamiliar with the acronym, stands for In-Body Image Stabilization. Olympus is widely credited with pioneering the modern 5-axis system found on their high-end bodies, but in recent years it’s made its way into other manufacturers’ product lines. Unfortunately, because of the design of their lens mount, one of the few manufacturers unable to implement IBIS is my beloved Fuji.
In practise, IBIS is designed to compensate for camera shake in an effort to prevent blurry details without requiring higher shutter speeds. Avoiding higher shutter speeds means you can maintain a healthy exposure level without cranking ISO, which is widely understood to be the least forgiving side of the exposure triangle for cameras with smaller sensors.
Since it’s difficult to improve noise levels at high ISOs on a Micro Four Thirds sensor, Olympus designed IBIS to help photographers avoid pushing ISO in the first place. In effect, they gave the middle finger to physics.
But the important thing to remember is that IBIS doesn’t just work in low light situations—it’s on all the time, using any lens (unless you deliberately turn it off to use a tripod). This means that even for daytime shooting at low ISOs, the stabilizer is helping compensate for any movement in your body as you hold the camera.
 Pulling off shots like this handheld feels like cheating, but with the PEN-F’s IBIS and the 60mm ƒ/2.8 Macro it’s not only possible, but easy.
This is amazing for those of us who do most of our shooting handheld. It’s not a replacement for good shooting technique, but it means that for an average setup, there will be less micro-blurring in the Olympus image than the equivalent from my Fuji cameras, which leads to higher perceptual sharpness despite the Fuji’s superior megapixel count.
You can prove it even within the Fuji ecosystem by comparing the 90mm prime to the 50-140mm zoom (which features lens-based stabilization) at a 90mm focal length. Even though the 90mm is a sharper lens overall, shots from the 50-140mm often come out looking crisper because the stabilization compensates for any inconsistencies in your technique.
To be perfectly clear, this is not an indictment of Fuji’s optics: without a doubt the additional resolution and exceptional lens design of the X System ensures they’re capable of sharper images than the PEN-F. No question.
However, IBIS ensures that the Olympus setup is hitting its full sharpness potential more reliably, in less controlled shooting circumstances, and with more forgiveness for poor technique. If the High-Res mode ever gets fast enough to be used off-tripod for normal subjects, it’s going to go from being a useful product photography enhancement to a deeply threatening weapon against cameras with native higher resolutions, especially since the High-Res mode results in better colour accuracy.
In any case, the issue of lost detail in my comparative findings is exacerbated by the unique nature of Fuji’s X-Trans pixel array, which requires a different demosaicing algorithm (how your RAW converter assembles the files) than traditional Bayer sensor arrays. In theory, X-Trans allows Fuji to omit the detail-destroying low-pass filter from their cameras without suffering the usual susceptibility to moiré as a result.
Unfortunately for Fuji shooters, the reports of Lightroom doing a poor job of rendering Fuji files is not a rumour and has not been fully resolved, despite frequent blog posts claiming the contrary.
That’s a topic for another post, but suffice it to say that after two years shooting Fuji almost exclusively, I’ve come across the same tricks, the same suggestions, and the same promised fixes as you have and none of them fully solve the problem of getting Lightroom to properly handle fine details in Fuji’s RAW files. That leaves only two options: don’t sweat the details, or change workflows to include a different RAW processor.
Neither compromise is required for the Olympus files.
Back to PEN-F Image Quality: The Great JPG Debate
Who has the best JPGs in the industry?
Chances are, your answer is either Fuji or Olympus. It’s to be expected considering the extensive history each company has developing imaging technology and contributing to colour science.
 This is a JPG pulled straight from the camera, without any editing.
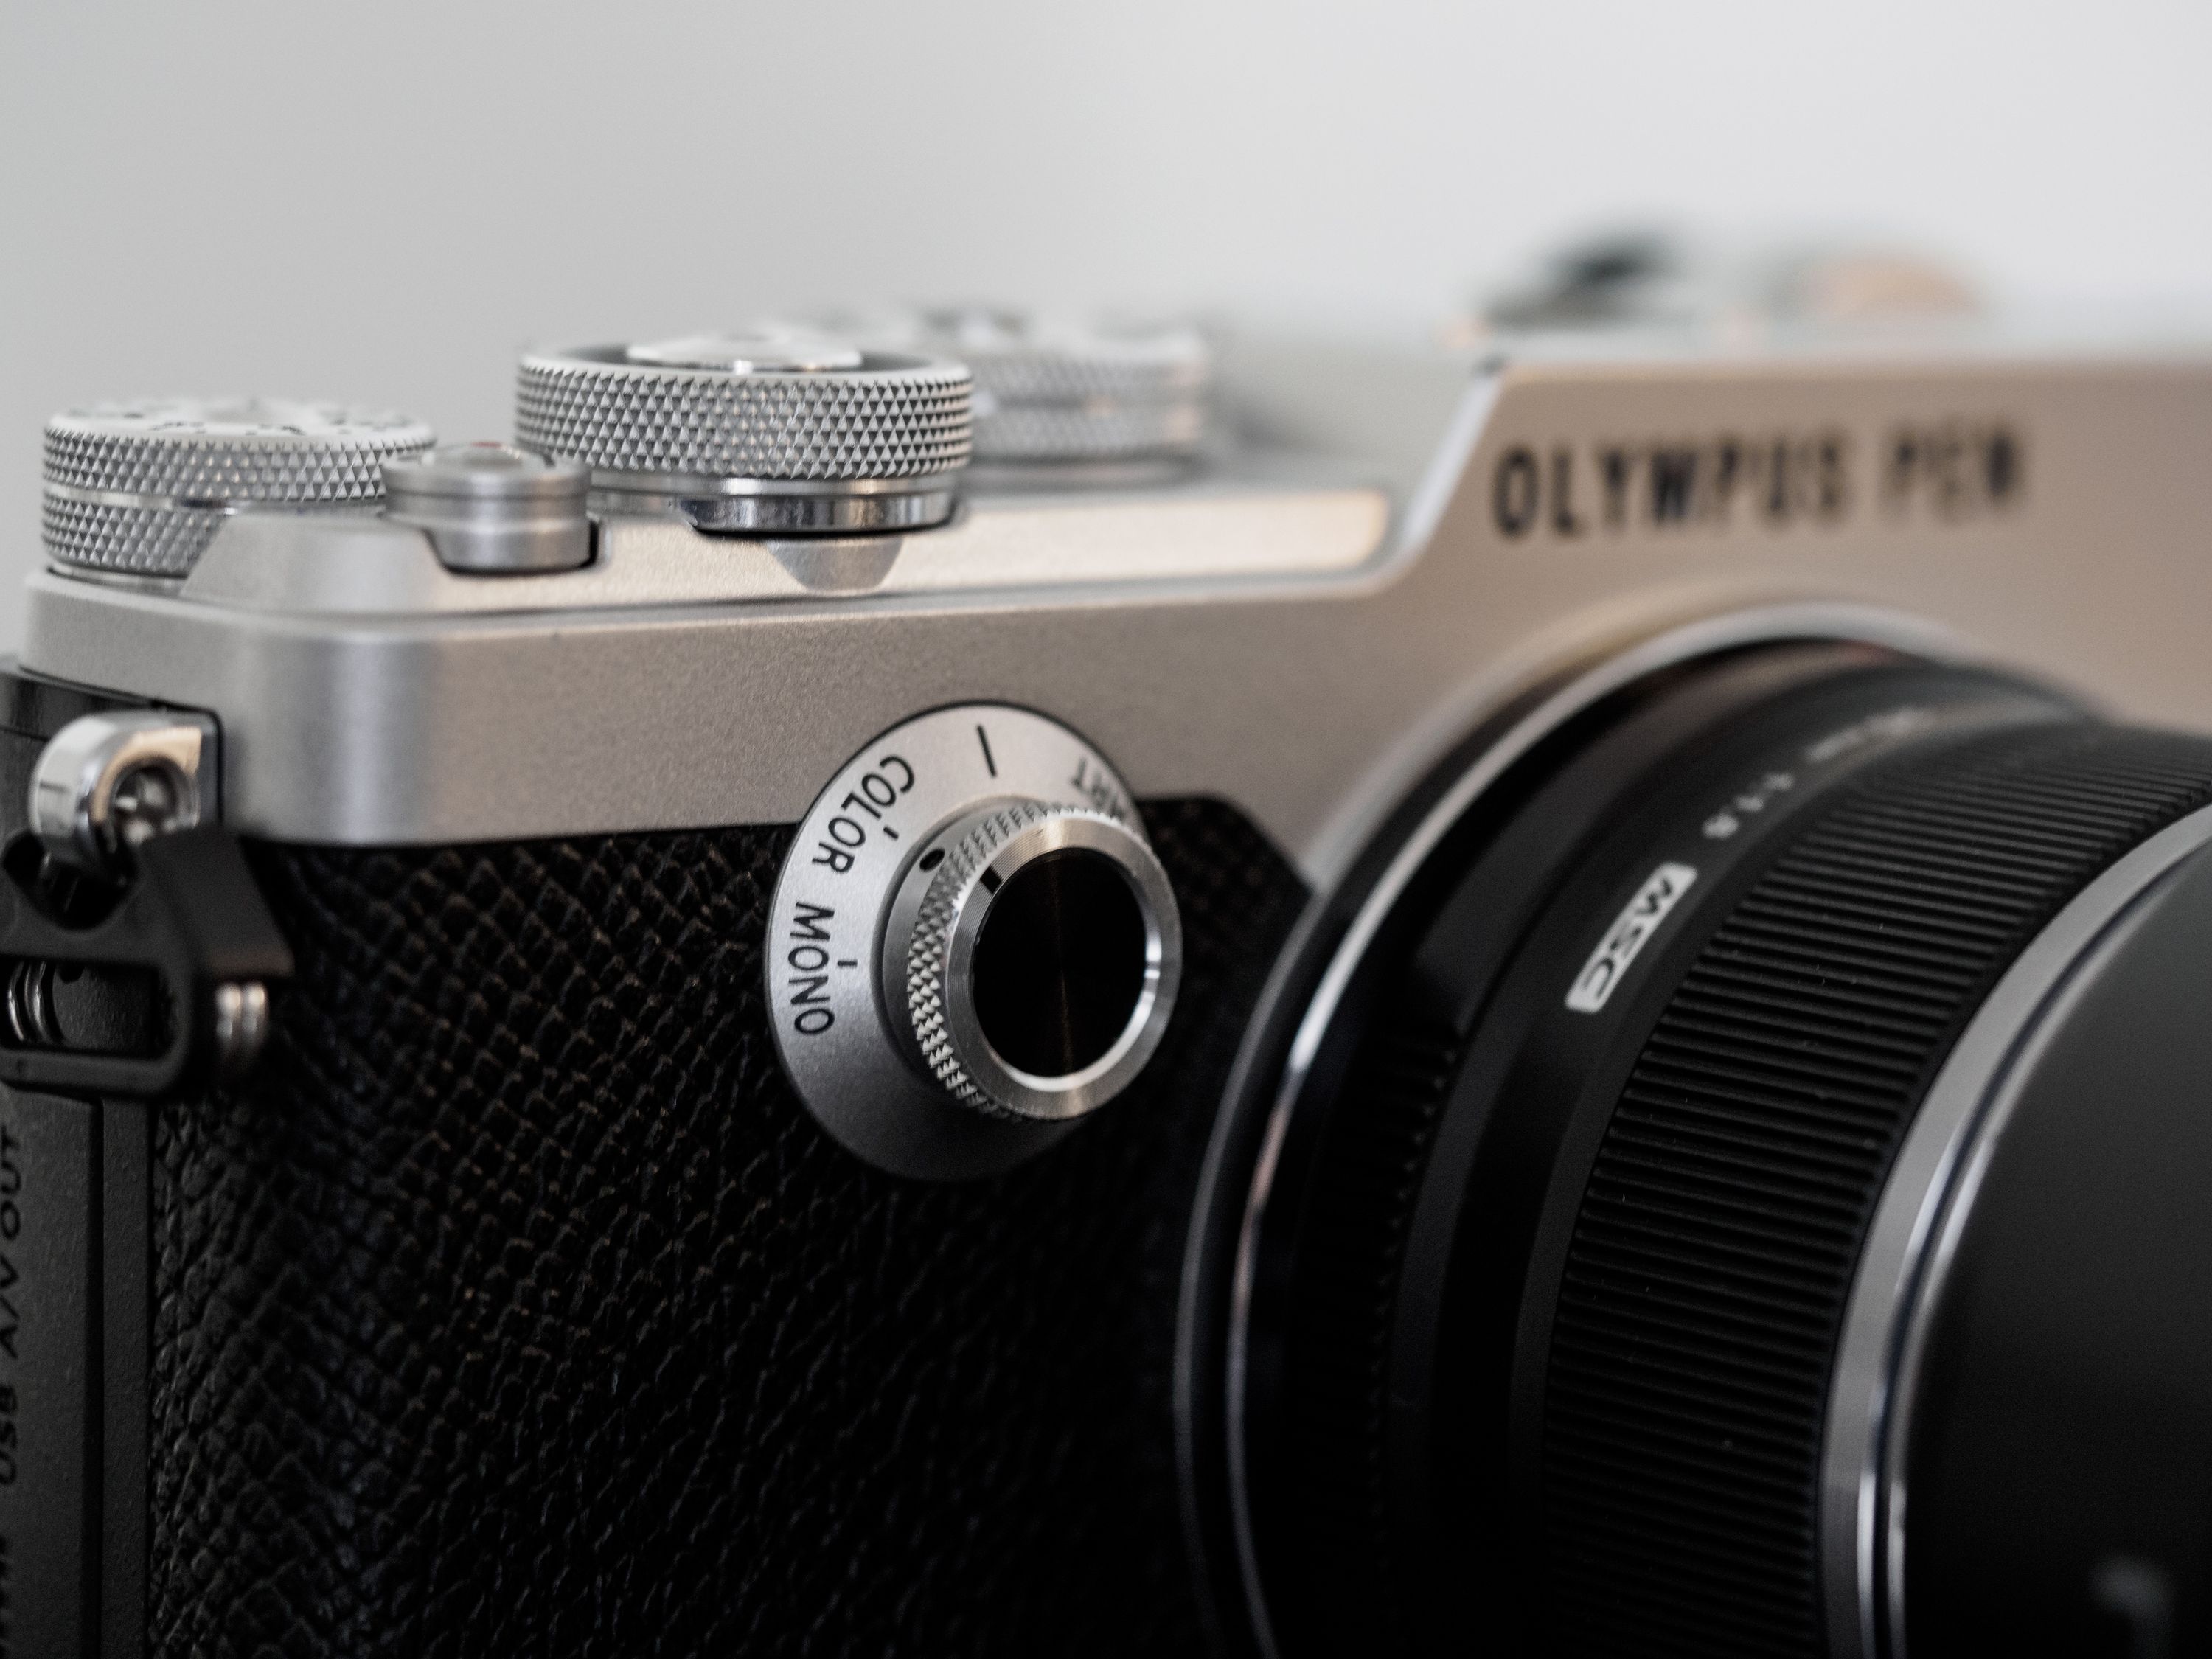
It’s also a matter of taste, and one that many professional photographers dismiss as unimportant because they shoot RAW. If you’ve read about the PEN-F elsewhere, you’ve probably encountered many of these photographers and read their rants against the creative mode dial that has such a prominent position on the front of the camera.
It can’t be customized, it’s obviously there because the original 1963 PEN-F had a dial there (albeit one controlling shutter speed), and its functionality only applies when shooting JPG.
Here’s the thing…I shoot RAW all the time, but I absolutely love this dial. Just the way it is.
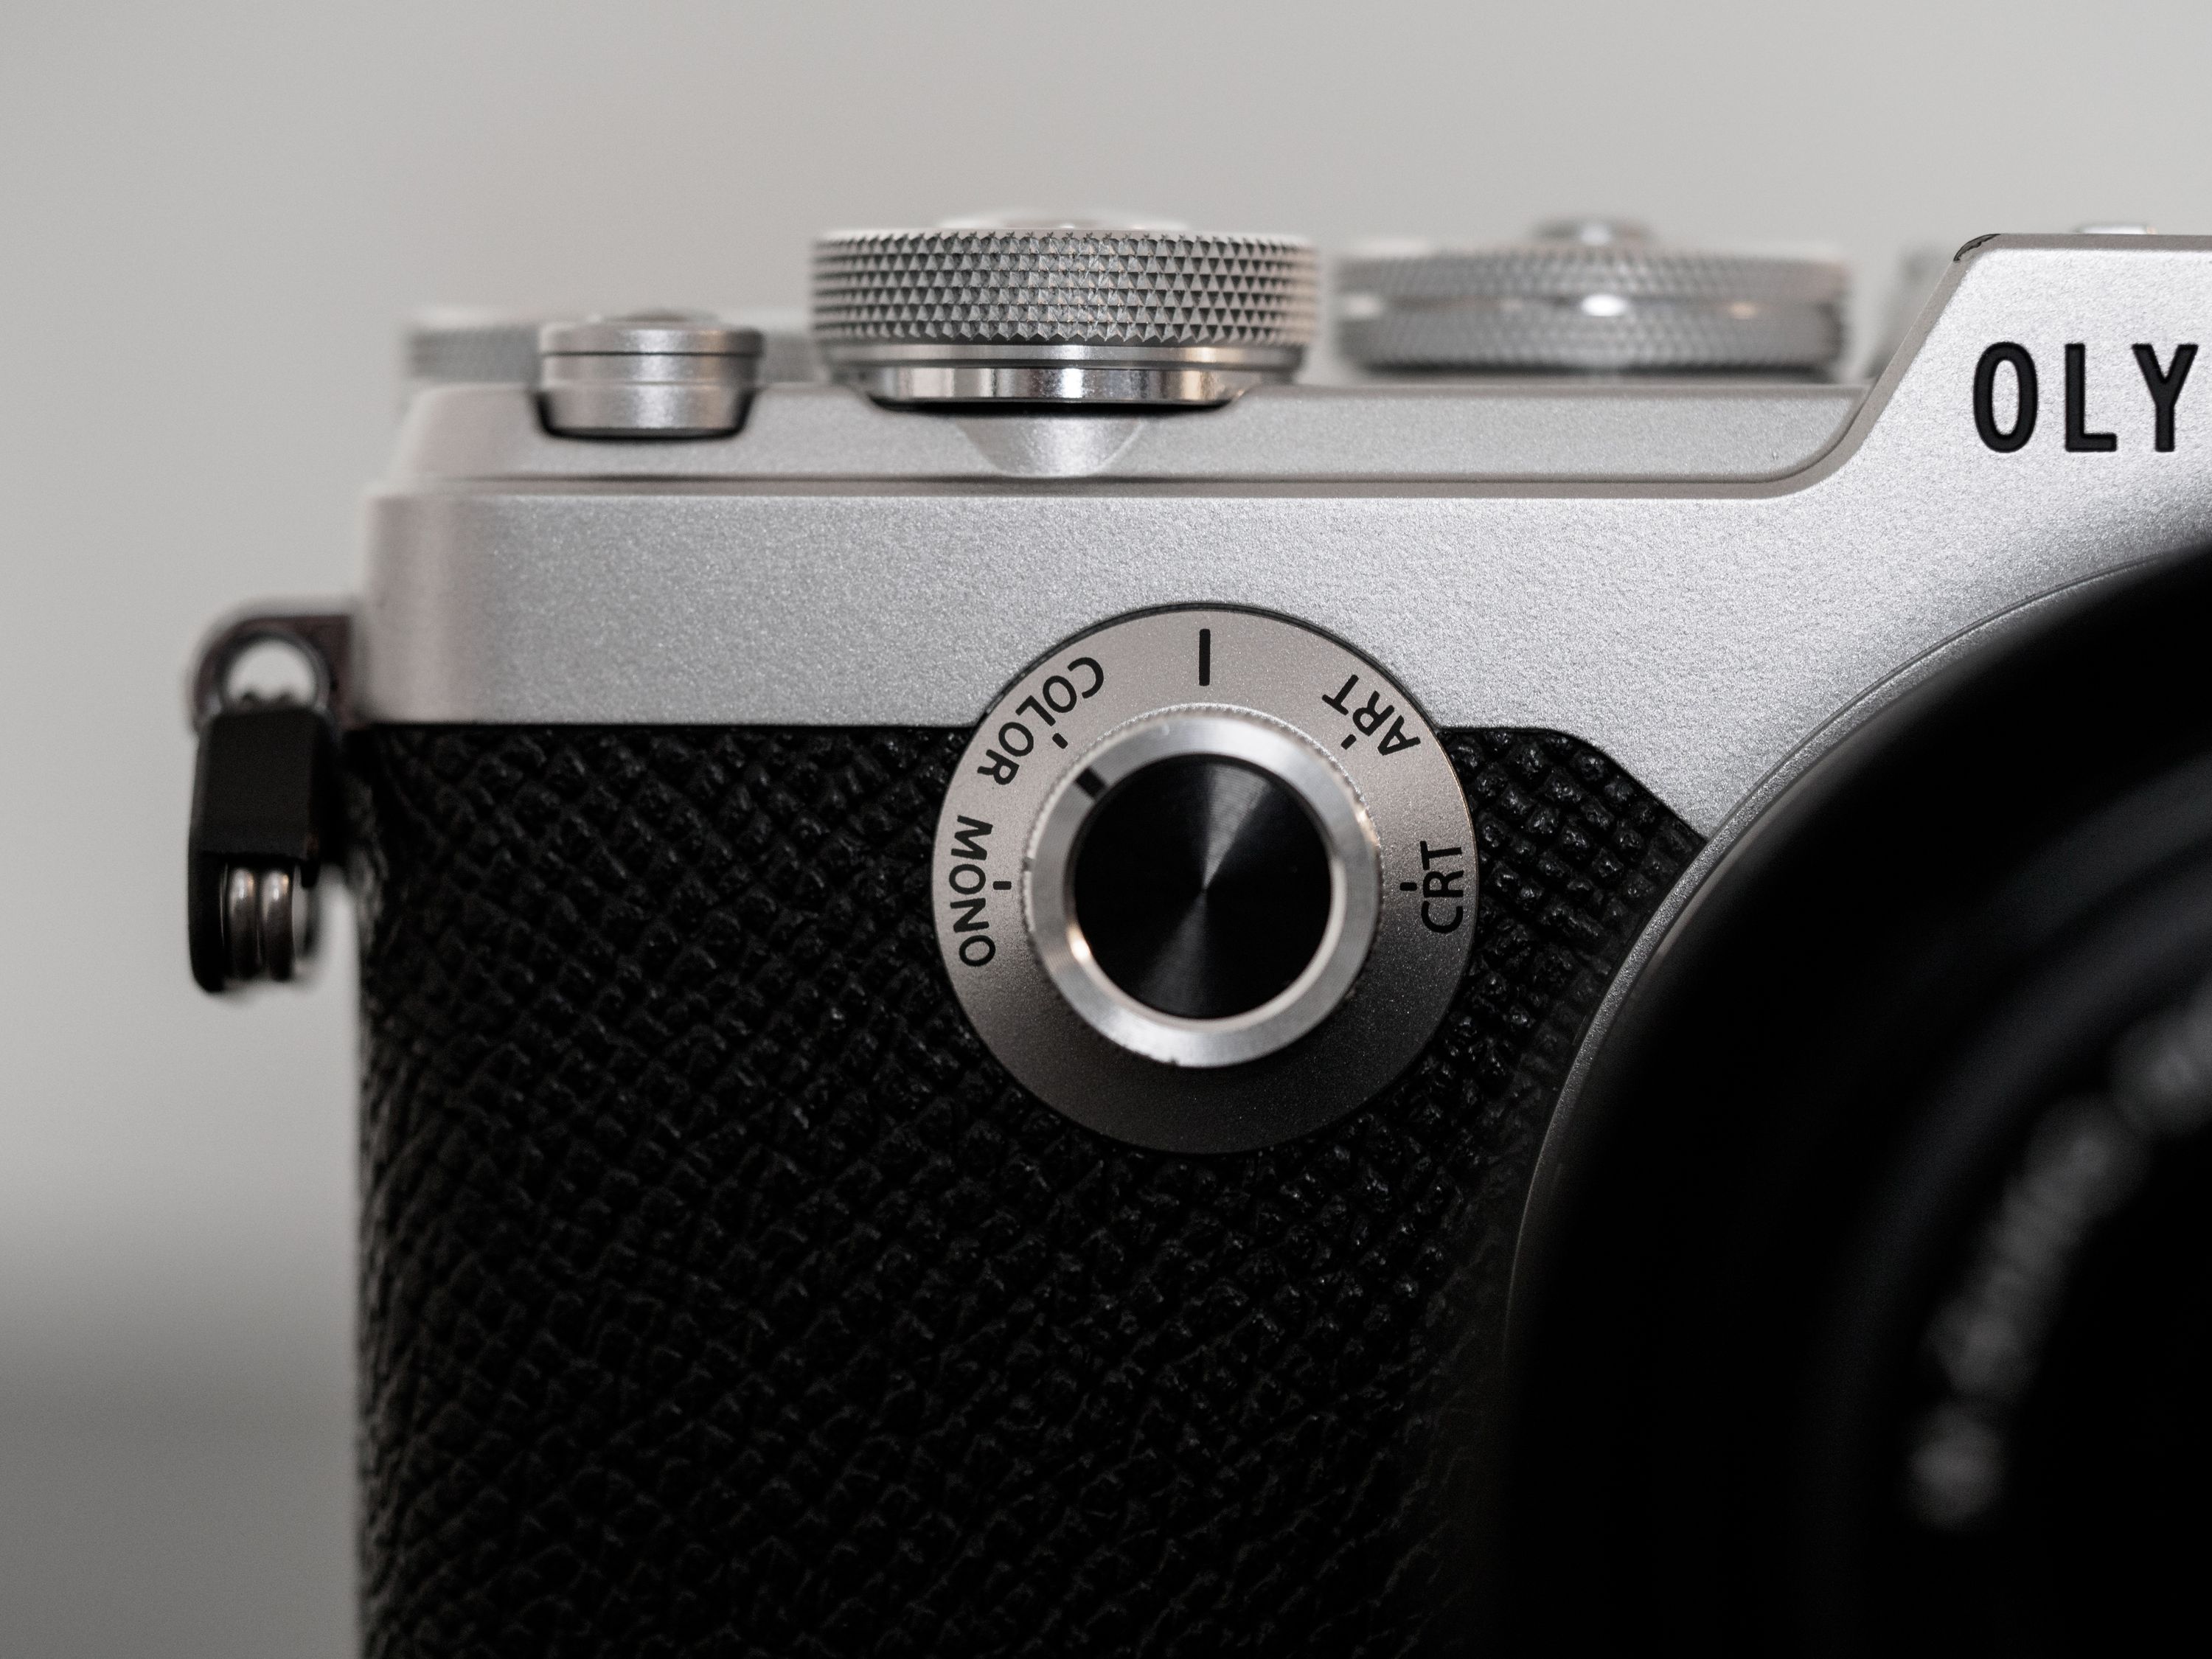
Not only are the preset monochromatic and colour modes excellent, but the CRT position is where the magic happens. This “Colour Creator” mode is essentially a custom film look designer.
The natural comparison is to Fuji’s film simulations, which I adore. The key difference is that those simulations have a relatively narrow scope of customization: you can adjust highlights, shadows, sharpness, saturation, and grain…which sounds like a lot until you’ve seen Colour Creator in action.
Imagine being able to selectively push and pull the saturation of 30 different hues (by four incremental amounts in each direction) to craft your own unique colour profile. Then, with a flick of that curves lever under the mode dial, you get a full curves interface allowing you to boost or attenuate highlights, shadows, and midtones. Once you’ve got that set up the way you like, you can adjust overall sharpness and contrast separately.
The film simulations under Colour and Mono use a very similar system. The Colour mode allows you to customize the presets using a streamlined 12-point hue/saturation circle, and the Mono mode offers 8 different colour filter options around that wheel with 4 levels of intensity, plus a dedicated vignetting control, and an improved exposure-sensitive algorithmic grain simulation (just like Fuji’s!) with 3 intensity options.
If you don’t want to spend time fiddling with making your own look, the defaults are terrific (mono 2 and colour 2 are my favourites), but the fact that you have the option to design your own and access them with the turn of a dial is huge.
Best of all, the JPG adjustments are saved into the RAW files as metadata that Olympus’ native RAW conversion software can read and apply as a starting point for your edit. Doesn’t work in Lightroom, which is a shame, but at least it’s 100% accurate to the in-camera conversion.
 I’m in love with the colours I’m getting out of this camera. This particular shot now exists as a 13“x19” print on my wall and looks magnificent.
My current workflow involves both RAW and JPG files, and I set my cameras to capture both. In the case of the X-Pro 2 and its two card slots, I can store each file type on its own card. On the PEN-F, they all end up in the same spot, but the usage remains the same.
Whenever possible, I push myself to get the shots “right” straight from the camera. Not for any nostalgic reason related to film, but because it’s one of the only ways to challenge myself to strive for better photographic technique in the digital age. It’s too easy to fix badly exposed photos in post these days, and I don’t think that’s an excuse for poor technique.
Of course, I’m nowhere near perfect and so it’s important to have the RAWs available when I get something wrong or when I need to do extensive processing to get what I’m after.
Speaking of processing, I have to say that these PEN-F files respond extremely well to B&W conversion.

But that isn’t the only reason I shoot both.
As I’ve said on Candid several times, storage is cheap, and raws are unequivocally the files to keep for archival purposes. As image processing technology improves, I want to be able to go back to any image I’ve taken and have access to the full spectrum of data I was able to capture at that time.
So while I understand a certain degree of skepticism among RAW-only purists about the creative dial, I maintain that it’s a valuable and under-appreciated creative tool.
Low Light Shooting
Advancements in Olympus’ sensor development have allowed them to refine their cameras’ performance in low light over the years, culminating in their best effort yet on the PEN-F.
Don’t worry, I’m not claiming it’s great. It’s not.
Noise shows up a lot sooner than it does on the X-Pro 2, and even that is a step behind modern full-frame bodies. If you want a noise floor so clean you can eat off it, buy a Sony a7S Mark II and call it a day.
Still, we’re getting to the point where ISO 4000 is suddenly quite usable, depending on your tolerance for noise. To illustrate my point, here are a couple of shots that push past my previous threshold of ISO 1600:
 This image was shot at ISO 3200
 This one was shot at ISO 2500. Lightroom’s noise reduction is disabled for both images, and they’re processed from the RAW files so there’s no in-camera noise reduction being applied either.
 Here’s a close-up of the noise in the ISO 3200 image.
Just for fun, here’s a shot taken at ISO 8000 in what was essentially a dungeon staircase in some leaky old building at night during an art festival.
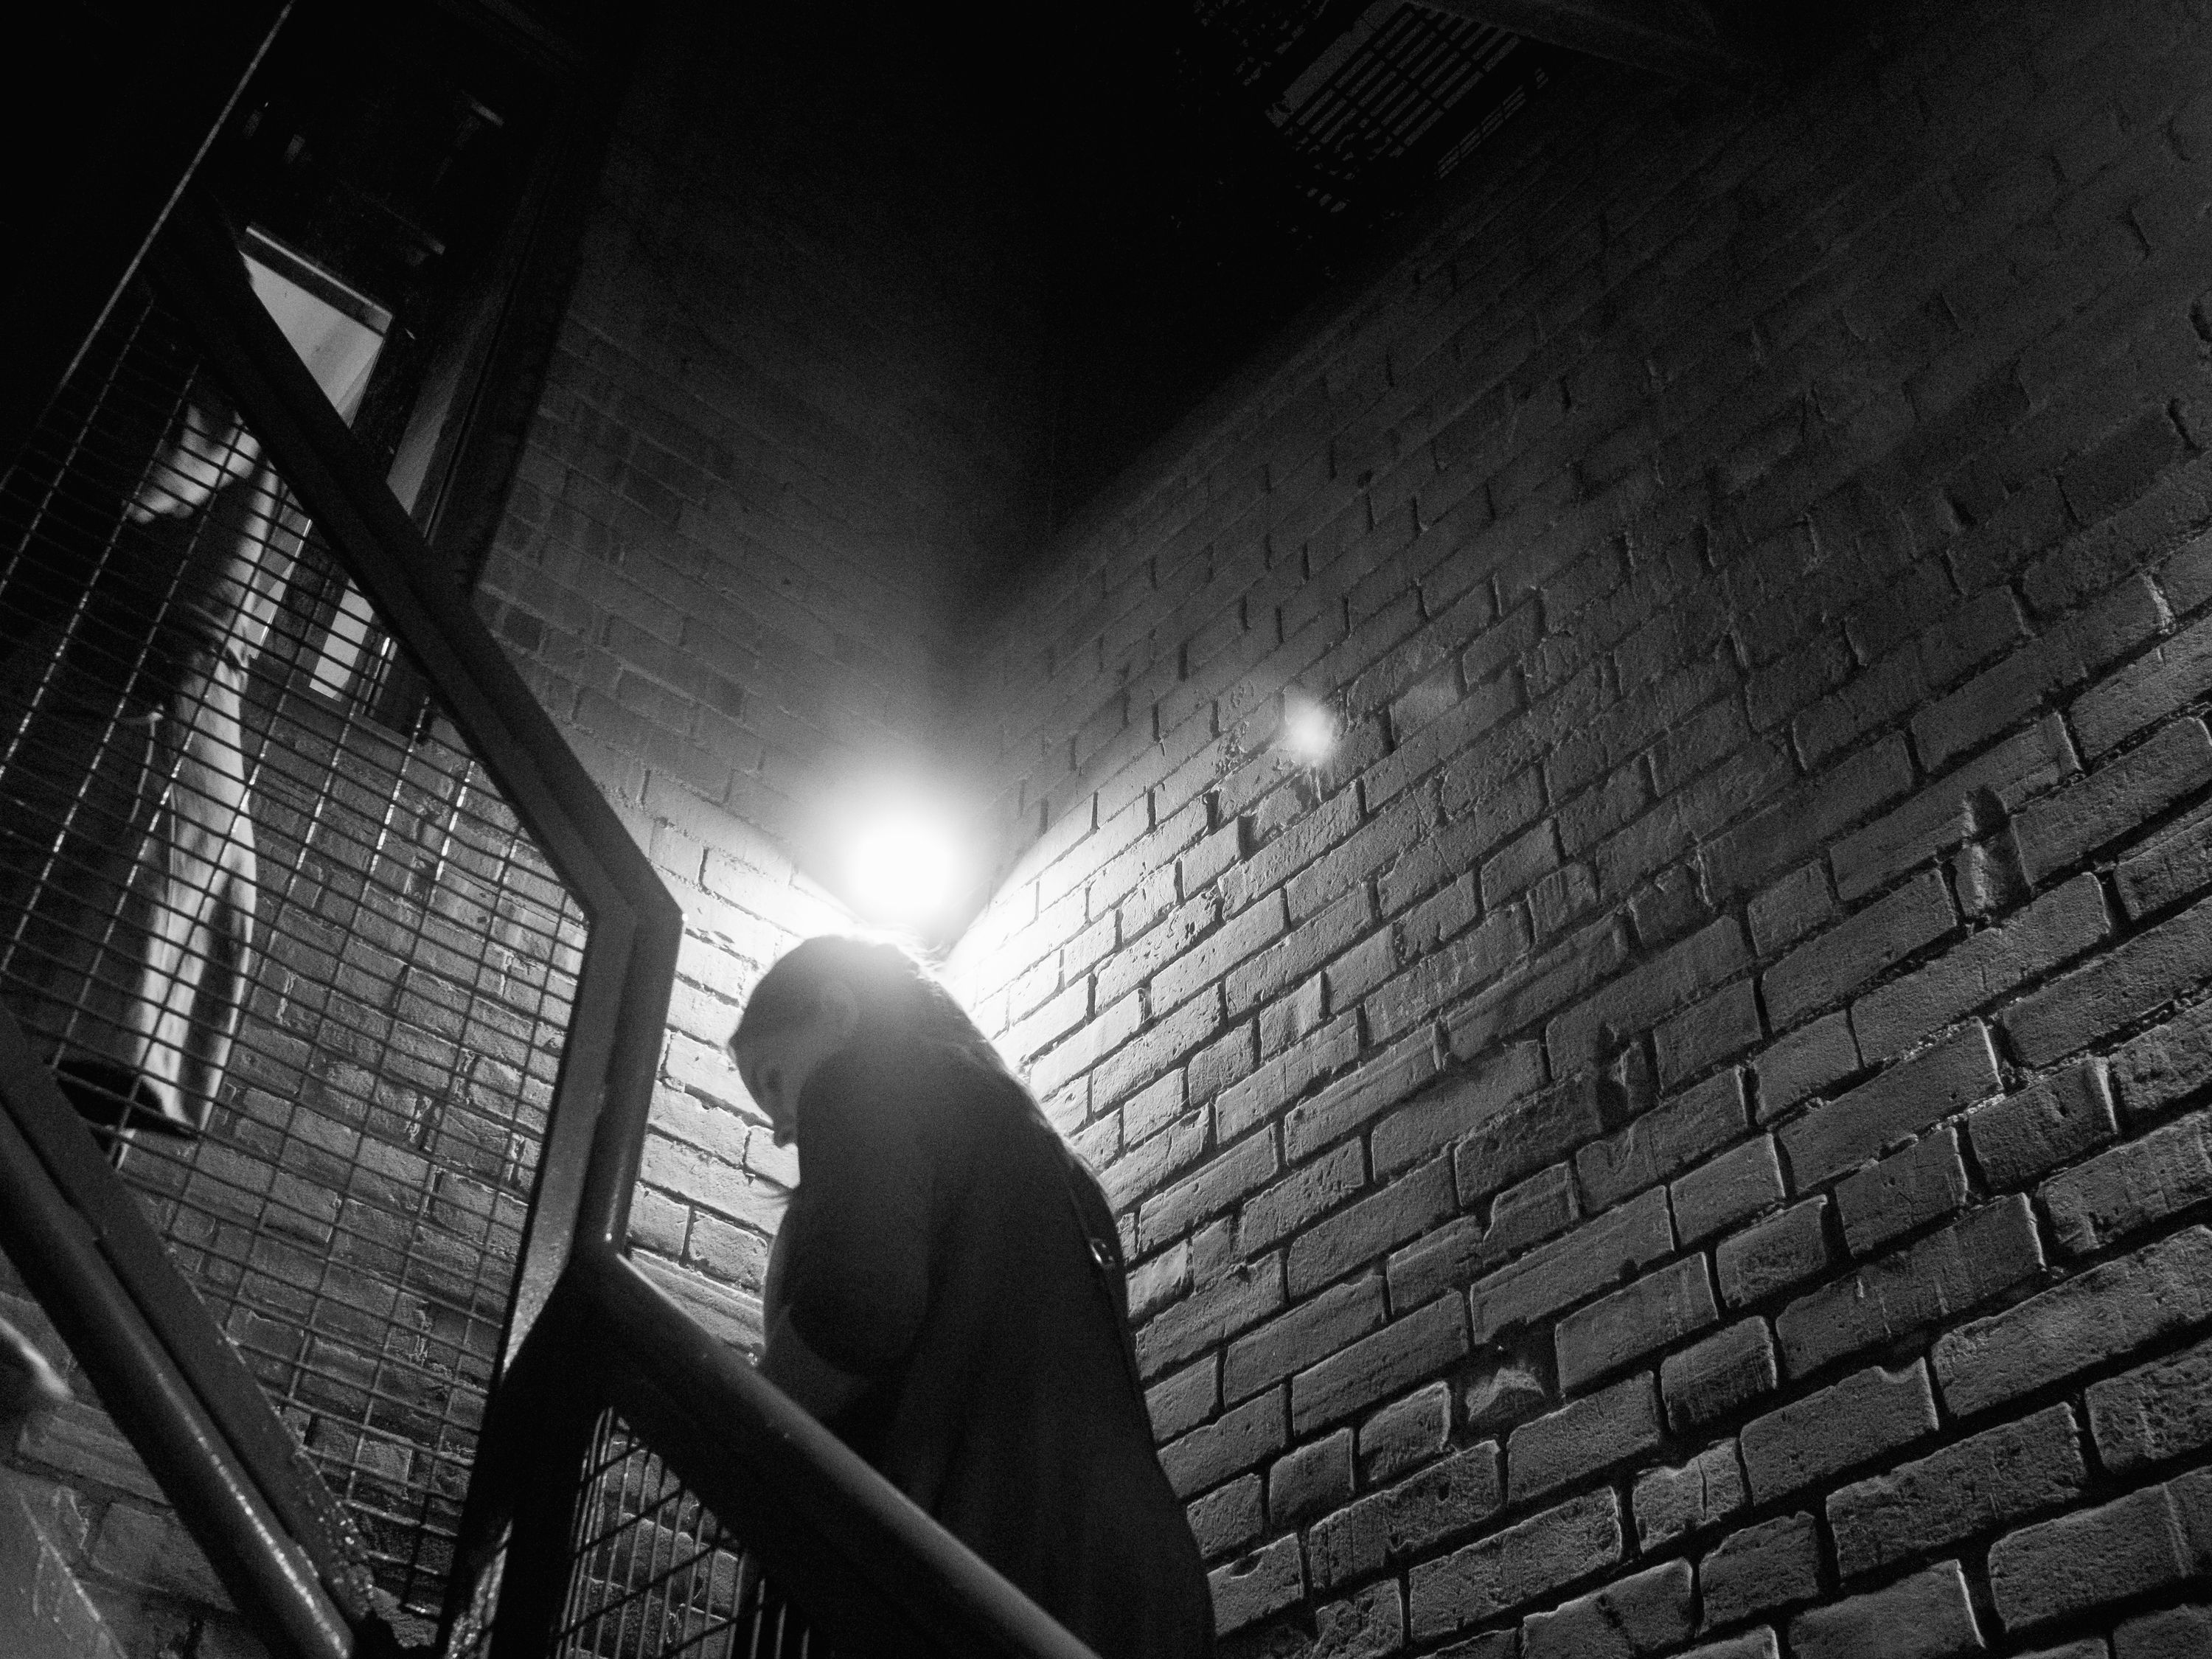 I wouldn’t want to be at ISO 8000 all the time, but I was expecting this to look worse when I took the shot.
 Here it is zoomed in so you can see the noise with Lightroom’s noise reduction set to 20.
I didn’t bother breaking out Noiseless for the images above, but if I had it would have eliminated most of the visible graininess. In fact, if you care to compare high ISO performance directly between Fuji and Olympus, the gap is smaller than I expected it to be.
In the end, these images are certainly not clinical, or even clean, but part of what I’ve been struggling to internalize lately—much to the chagrin of my inner geek—is that those aspects are not what matter.
Photography is About Moments
To wrap this review up, I want to turn back away from the technical to offer some insights I’ve gleaned from sharing photos with non-photographers. If you haven’t done this recently, I highly recommend it. They don’t react the way we do.
For instance, out of the collection of shots I took at the wedding, I almost dumped one in particular because my geek brain deemed it unworthy. I noticed the impending moment too late and as a result I didn’t adjust my shutter speed to an appropriate level in time.
The previous weekend, I had made time to sit down with my collection of photography books. I pored over the classics again, examined the enduring photos from history, and studied my reaction to the images. A surprising number are blurry, grainy, or utterly ignorant of the rule of thirds, yet I wasn’t bothered by those supposed shortcomings.
Intending to put my findings to the test, I shared that “failed” image anyway. It was blurry and noisy…but I caught the moment. It provoked the most engagement of the entire image set.
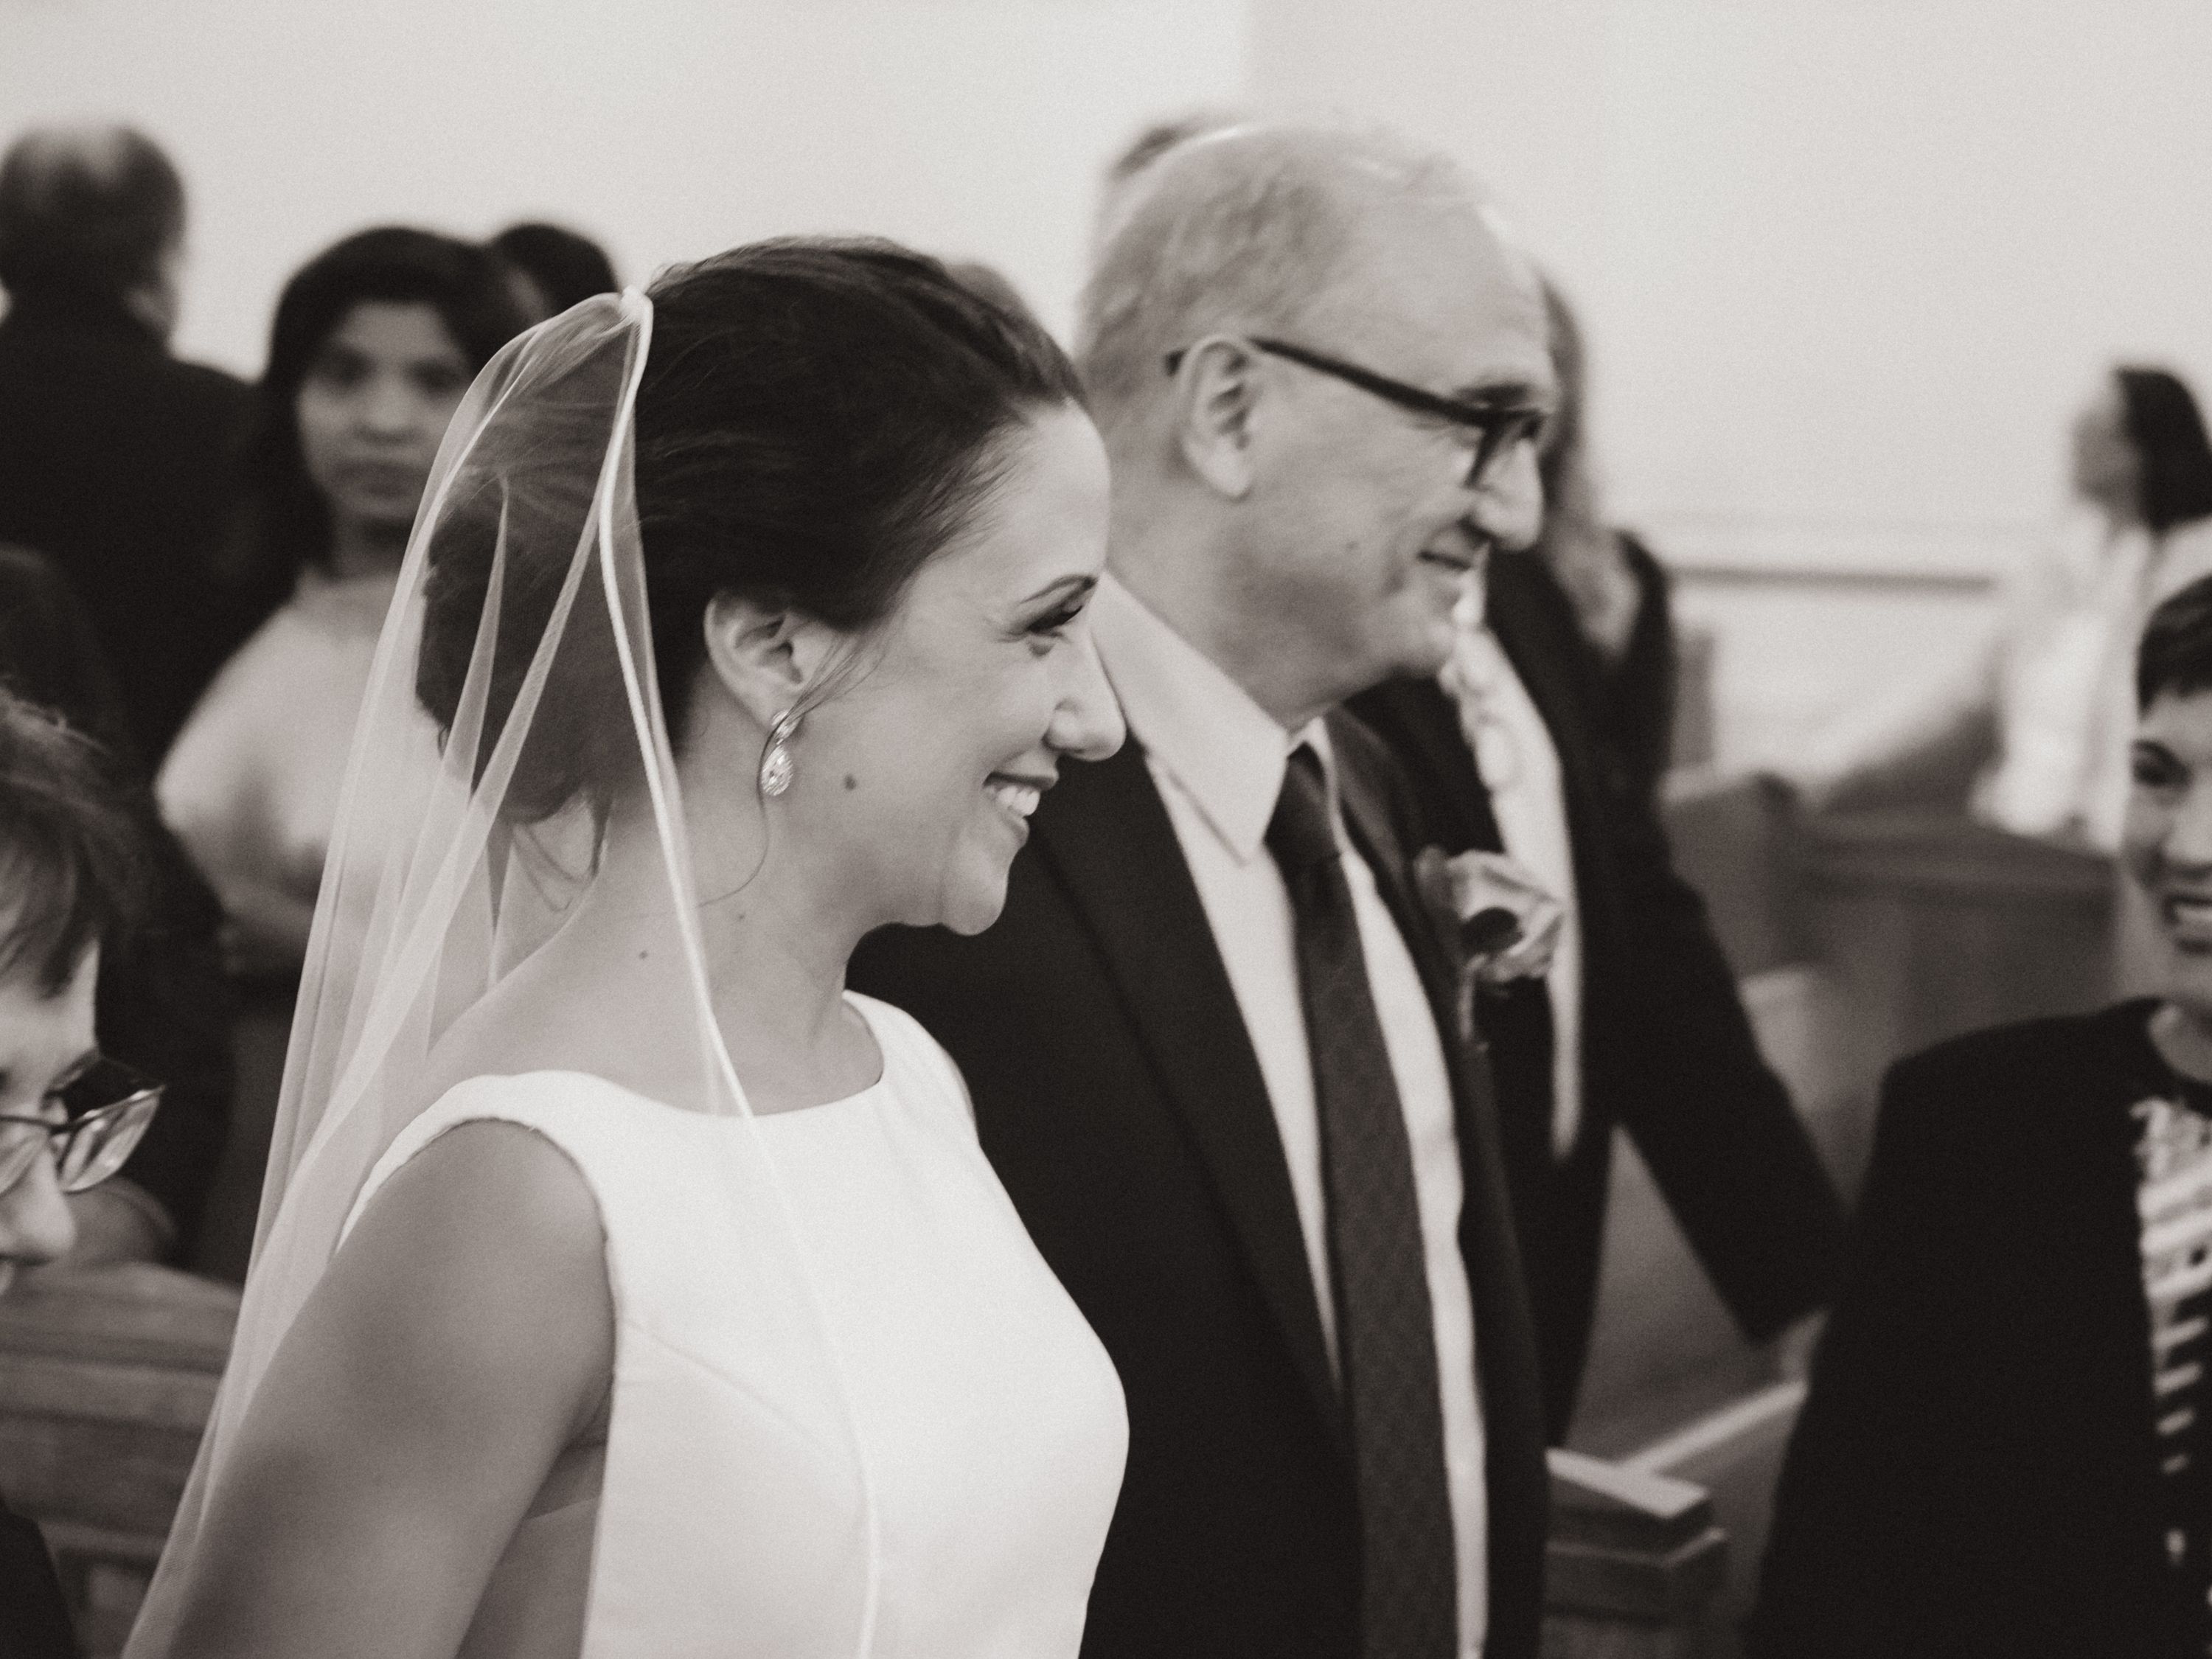 Missed focus, plenty of noise at ISO 4000…but I caught the moment, and that’s what matters.
This shouldn’t be news to anyone, but in today’s technological rat race it’s all too easy to lose sight of the fact that what makes photographs special is the moment they’ve captured.
Images that stay with us over time do so not because they’re technically brilliant, but because they tell a story, invite us to tell one, or otherwise present a scene in a way that provokes a reaction.
It’s about purpose, not pixels.
My New PEN Pal
From the Canon 5D Mark II onward, my equipment goals have been centred around the pursuit of a frictionless system that allows me to focus only on what matters.
When I bought into the Fuji system, I did so because it’s a robust, healthy ecosystem of products built for professional work and designed by a company that’s deeply passionate about meeting the needs of photographers. They make products that I love to use, and that inspire me creatively.
But they aren’t the only company for which that is true.
At the time, Micro Four Thirds sat just below my threshold for technical requirements. I loved the ergonomics and the remarkably small form factor, but the IQ wasn’t quite there; I craved more resolution and better handling of difficult lighting situations.
I felt that the best combination of ergonomic and technical excellence for my particular shooting needs was met by the X System. Now that I’ve spent time with the next generation of Olympus products, I’m not so sure that’s still the case.
In the span of a single month, the Olympus PEN-F replaced my Fujifilm X-Pro 2 on two important client shoots, earning its keep in the process (so much for “too expensive” I guess), and reminded me how much of a difference it makes to be able to fit an entire system of two bodies and four lenses into the smallest bag I own—with room to spare.
Quick and unobtrusive, the Olympus PEN-F is a perfect secondary body for professional shooters, and perhaps even a primary body depending on your needs. I was wrong about it—laughably so—and I’m grateful that I took the time to find out for myself rather than trust the internet hive mind’s conclusions about it.
Moreover, I find myself questioning my choice of primary camera.
If the E-M1 Mark II delivers on the promise of even better IQ than the PEN-F, improved ergonomics over the already-superb E-M1, an autofocus system to rival the X-T2’s, the peace of mind of robust weather sealing, the magic of an even better IBIS system, and better flash functionality too…well, let’s just say my kit might be getting even smaller.